According to the preliminary rough draft I made, the first page of the brochure has a one-column configuration. We'll fix this by selecting Page 1 in the Pages panel, and choosing Margins and columns from the Layout menu. By selecting the page in the pages panel we insure that any modifications we make in this dialogue box will only affect the selected page. Proceed to change the number of columns to one and click OK.

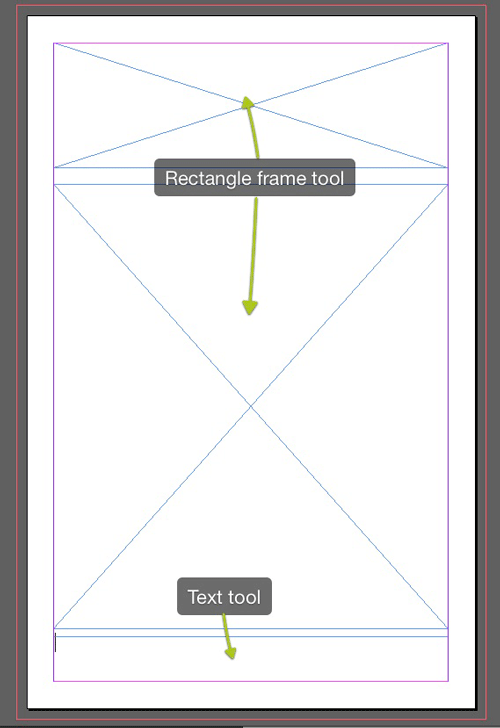
Generally it's a good idea to work on designs, such as this one, in passes or stages. The first pass consists of laying down the general shapes and forms that we need. Other passes will include filling these shapes with actual content. In the next few steps you're going to begin your first pass, by laying down the main shapes on page one. Select the Rectangle frame tool and in page one begin to draw your basic shapes. You will also need to use the Type tool to draw in a text frame at the bottom of the page.
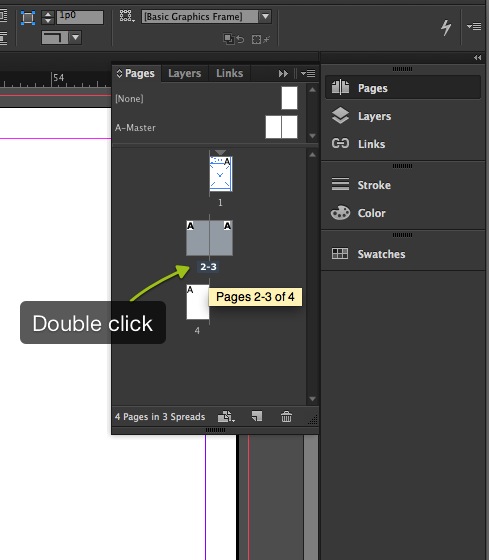
Now double click the page numbers below pages two and three on the Pages panel to jump to those pages. Remember that you can also navigate to different document pages by using the status bar or by using a keyboard shortcut. Do you remember what the shortcut is?
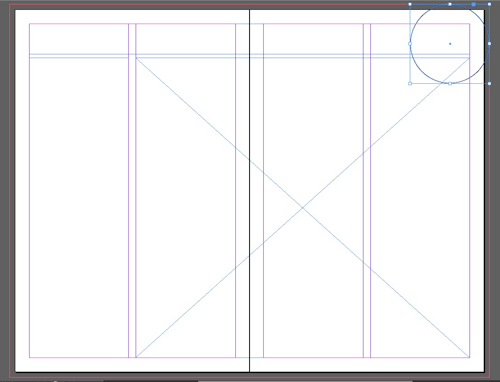
Make sure you can see the whole spread by selecting the Fit Spread in Window command from the View menu. Now you'll lay down the main shapes for these pages using a combination of the text and frame tools. As you begin drawing the frames, be mindful of the margin and column guides. Remember, they're there to guide you along so that everything is perfectly lined up.

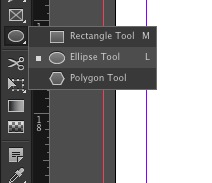
We need to draw one final shape on this spread, and I'm referring to the "Subscribe Today!" call-out that will be placed in an elliptical shape. To prepare for this select the Ellipse tool cleverly hidden behind the Rectangle tool, and draw an ellipse as shown.
Finally you're going to draw three more frames on the last page. So, go ahead and draw the first two text frames and a rectangle frame at the bottom. We will build frame to size, so use the Transform panel that you can find under Window > Object & Layout menu. Enter a size of .875 inches x 1 inch in the width and height field. (You can also use the Control panel to enter these values). If you haven't already done so, save the document and name it 2-fold brochure.indd. Keep your file names simple and don't use any special characters.
[MY: .indd correct file extension for this example?]

With this last action you've completed the first pass or stage of the brochure design. Now you'll begin to add real content to the layout.
Go to the first page of your document and with the Selection tool active make sure nothing is selected (Edit > Deselect all). Use the Place command (File > Place) to import both images into your design. Browse to Lesson 1 > Exercise 1 > studentFiles / Links folder and ctrl-click (Windows) or command-click (Mac) the files vacationLogo.ai and theBay.jpg and place.
The cursor turns into a Place Gun, a name that describes the fact that you have multiple images loaded in your cursor.

Tip: You can cycle and preview the images in the Place gun by using the up and down arrow keys. Use the Escape key to delete any unwanted selections.
Pay attention to the feedback you're getting from the cursor and note that when you hover over a graphic frame a parenthesis will be displayed. This tells you that InDesign knows that there's a frame below where you can place the image. So, place the logo graphic on the top frame and the remaining image, the photograph, on the frame below.
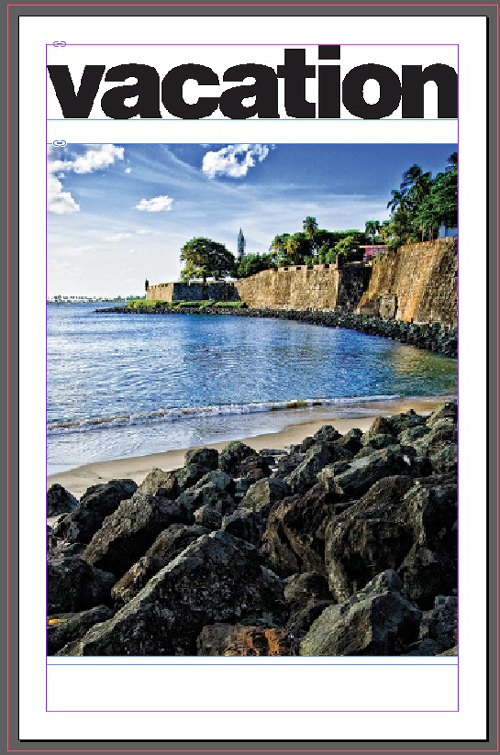
Use the Content grabber to resize and align the images as shown on the figure above.
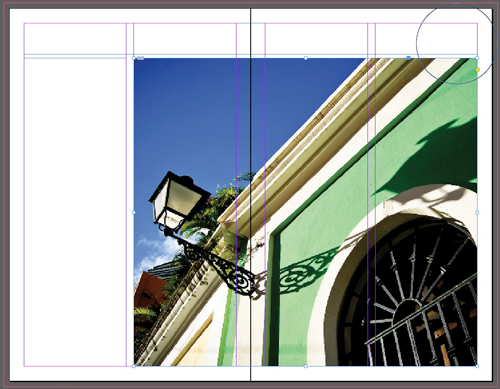
Do the same for placing a third image on pages two and three. Your layout should look like the one below.
Finally on your last pass at this you're going to place the text. This exercise uses a common workflow where a copywriter will use Microsoft Word to write the copy and you (as the designer) will import the Word file into your InDesign document.
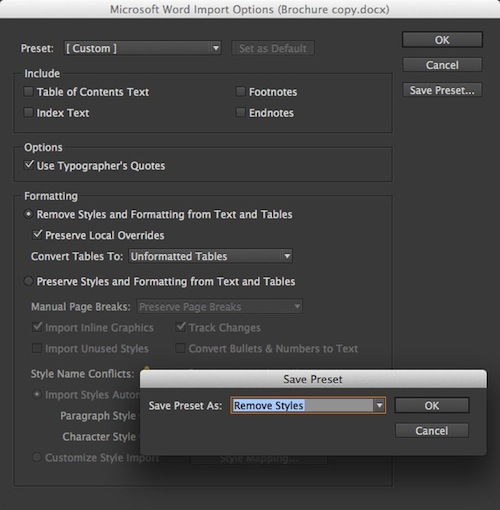
Use the Ctrl-D (Windows) or Command-D (Mac) shortcut to invoke the Place command. Browse to your Exercise 1/StudentFiles folder and select the file Brochurecopy.docx. Make sure you turn on the Show import options to clean up some of the text we're importing. Use the following settings in the Word import options dialogue box. (Remember you can also save a Preset for these options for later use).
Once you've accepted the modifications you will get a loaded text cursor like the one shown here. (You can choose to ignore the missing fonts alert should you get one, or you may replace any missing fonts with a system installed fonts.)
You can now place the text on its own text frame and set it aside on the pasteboard for later use. To accomplish this simply draw a text frame on any empty space on the pasteboard. Give yourself enough room to draw the frame and you shouldn't have any complications. (Select Edit > Undo if you're not happy with the results, and you'll be able to try again.)

[MY: I'm not seeing textOnPasteboard.jpg in the included image files]
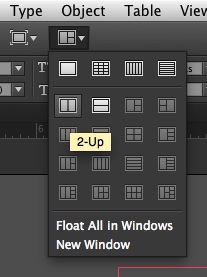
The next step is to copy and paste the text we imported into the various text frames we've created. An efficient way of doing this is to get some help from the Story editor. Select the text frame on the Pasteboard. Use the Ctrl-Y (Windows) or Command-Y (Mac) shortcut to invoke the Story Editor. Finally, use the Organize document menu in the Application bar to arrange both windows in a 2-up configuration. Now we have something we can work with!
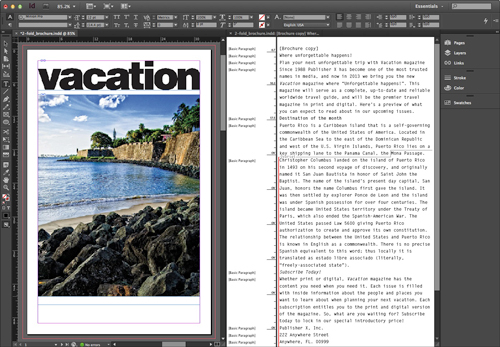
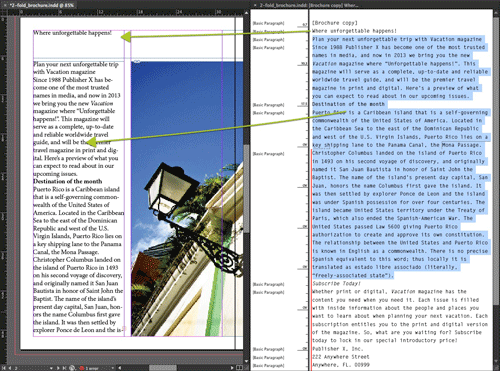
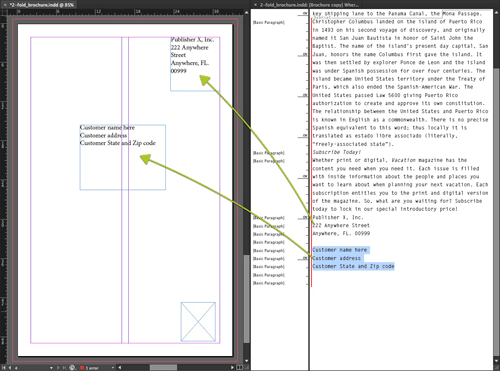
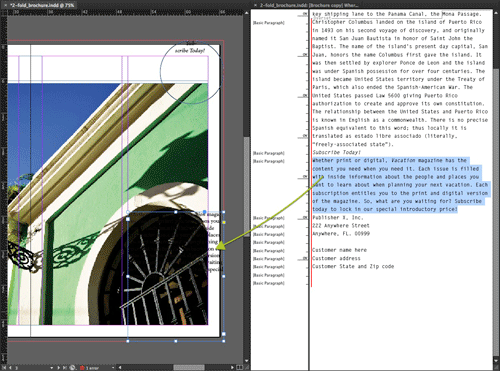
Begin copying and pasting the text from the Story editor into the corresponding text frame. Navigate to other pages of the document and do the same. Use the figures below as a guide.
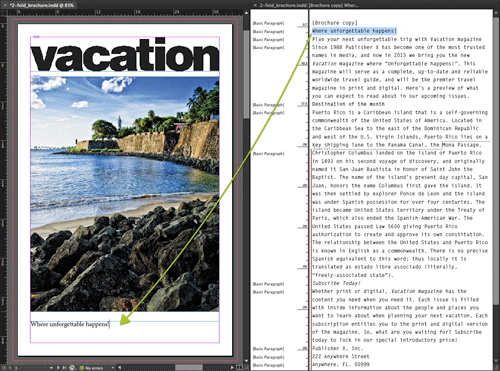
Make sure the cursor recognizes the elliptical frame before pasting the text. You will know this if you pay attention to the cursor feedback. When the cursor recognizes the ellipse it will display a parenthesis around the icon telling you its time to insert the cursor and paste the text. If you miss the first time, use the panic button otherwise known as the Undo command to try again.
[MY: The above paragraph was included as an image caption in the original text. It seems too long for an image caption, so I put it here for now]
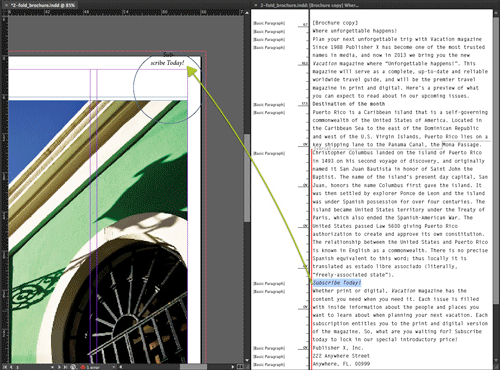
You're almost done with the exercise of creating the basic structure of the brochure. There's just on small detail we still need to incorporate into the design. If you take a look at the finished piece you will note that there's a small box with text that goes on the bottom right hand side of page three. I neglected to tell you to draw this frame when you were laying out the basic shapes, but I did this for a reason. I want you to see how easy it is for you to place text and draw frames at the same time. You already did this when you placed the initial text on the pasteboard. Now you'll repeat the process, this time by copying and pasting text.
Copy the corresponding paragraph from the Story editor. With the text draw a frame in the bottom right side of page three and paste.
Congratulations! You just completed your very first InDesign layout. Believe it or not, you have everything you need to work on the finished design. On the next exercise we'll enhance and finish the brochure.