Create a new document with pixels as the unit of measurement. The type used to hold artwork will be fairly large so make sure your document's dimensions can accommodate this.
For this project, I'm using the bold version of the standard Myriad Pro typeface that's included with Illustrator. I set my type size to 180px. The image below shows a zoomed out view so it's not actual size.
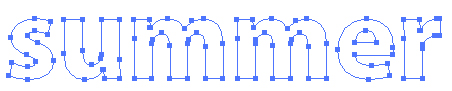
To make the task at hand easier, convert your type to outlines via Type > Create Outlines. This turns the letters into regular objects, just like circles and squares drawn in Illustrator are regular objects. Note that you can no longer edit the word after you convert. And the telltale sign that the letters are regular objects are the anchor points.
With all of the letters still selected, go to Object > Compound Path > Make. This command takes all of these individual objects (or letters) and treats them as though it was one shape. This makes it easier to apply artwork to all of the letters at once rather than having to work with them individually. Any styling or color will be removed, leaving you with only outlines.
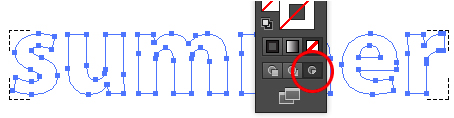
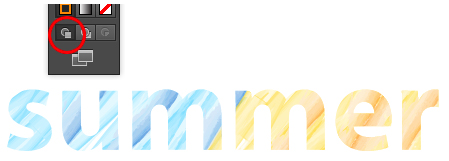
Next, click on the Draw Inside button at the base of the toolbar. This will allow you to draw or create artwork that will only appear within the confines of the letters shapes. Anything outside of them will be hidden. If you don't see this drawing mode, you have an older version of Illustrator. Skip down the tutorial to see how you can still achieve the same results.
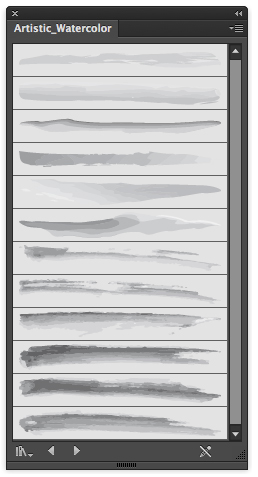
From the menu bar, go to Window > Brush Libraries > Artistic > Artistic_Watercolor. This will open up a panel with a series of brushes that mimic the look of watercolor brushes.
Click in an empty area of your document to deselect the word you typed. You'll be left with four corner brackets that indicates you are in the Draw Inside mode.
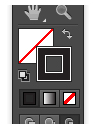
From the toolbar, make sure the Stroke box overlaps the Fill box.
Given that the word I chose is "summer", I've chosen blue and yellow/gold for brush colors. Here, I've used the Paintbrush tool and simply scribbled out some angled brush strokes.
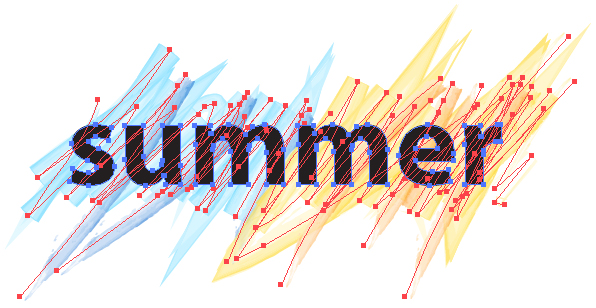
There's really no precision here as far as the brush strokes are concerned as you can see from this outline view (View > Outline).
When finished painting, return to Draw Normal mode.
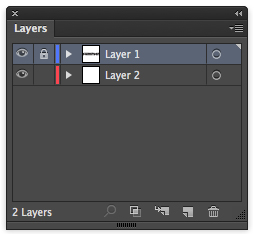
If you have an older version, type out your text as mentioned above. Outline the text (Type > Create Outlines) and apply the Compound Path command (Object > Compound Path). In the Layers panel. lock the layer the text is on and create a new layer and drag it below the original layer.
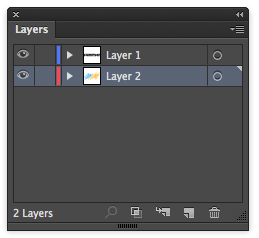
Select this layer and scribble out your brush strokes on it. You can toggle visibility of the first layer (click the eye icon) if the word gets in the way too much… or not.
When you are done painting the strokes, make sure both layers have visibility turned on. Also make sure both layers are unlocked.
Select all of the strokes and letter shapes via Select > All.
From the menu bar, go to Object > Clipping Mask > Make and you're done!
Thank you for participating in this tutorial. Please close the window to return to the lesson.