Learning Objectives
In this lecture, you can expect to:
- Use the Split into Grid command.
- Create transparent gradients.
- Use Warp effects.
- Isolate an object in a group for editing.
A Banner Performance
Create a new document that uses pixels as the unit of measurement. Double-click the Zoom Tool in the toolbar to set the zoom level of the document to 100%. Select the Rectangle Tool and draw a rectangle.
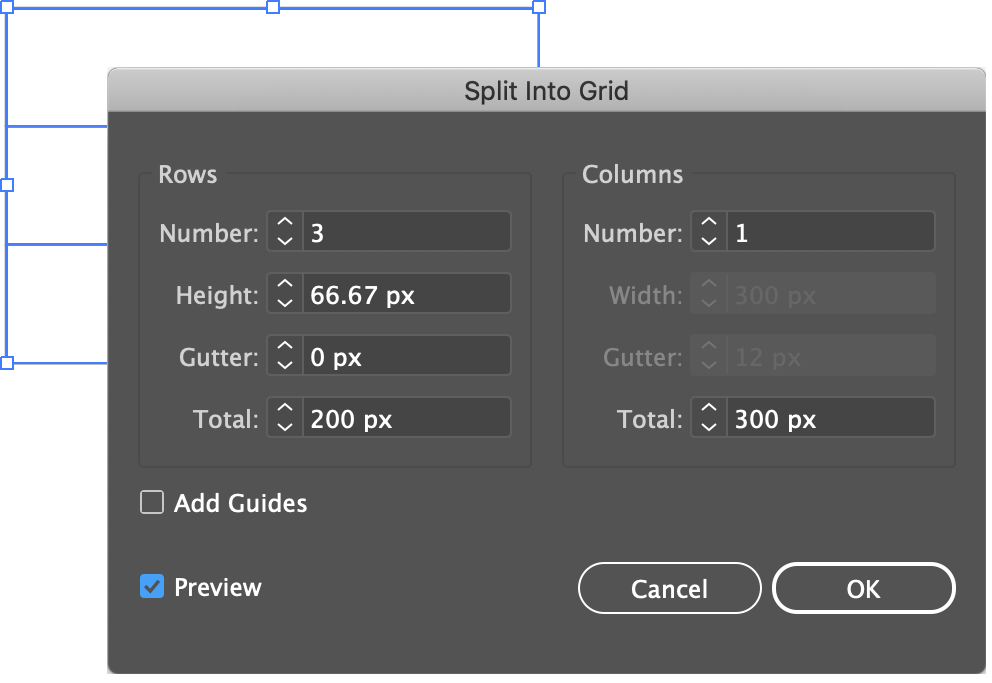
Select the rectangle and go to Object > Path > Split Into Grid. You will see options for this command.

Enable the Preview option and in the Rows section enter a value of 3 in the Number field. You can see how the command will divide the rectangle into three rectangles.
Click OK. The objects will not be grouped so you can select an individual shape and move it around. Not that you need to though for the remainder of this tutorial
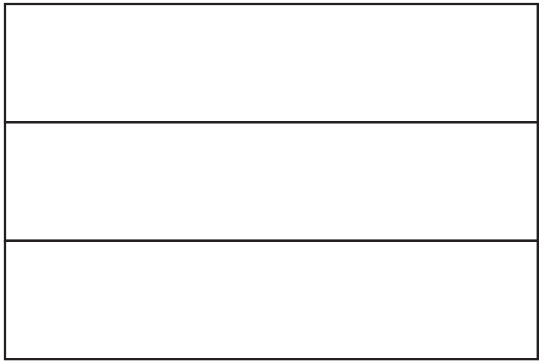
Apply a color to each individual rectangle. Be sure to turn off the stroke for each shape.

Draw a rectangle that's as high as the 3 bars combined on the left part of the flag. In the image below, you can see the approximate width I chose.
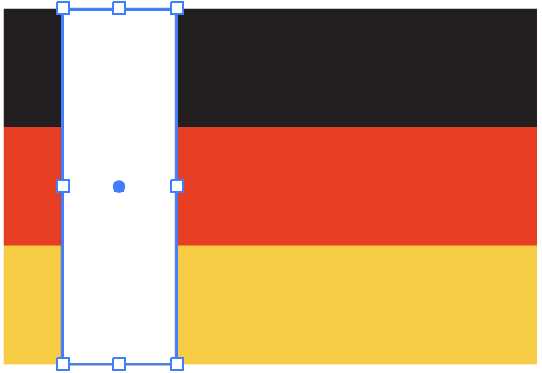
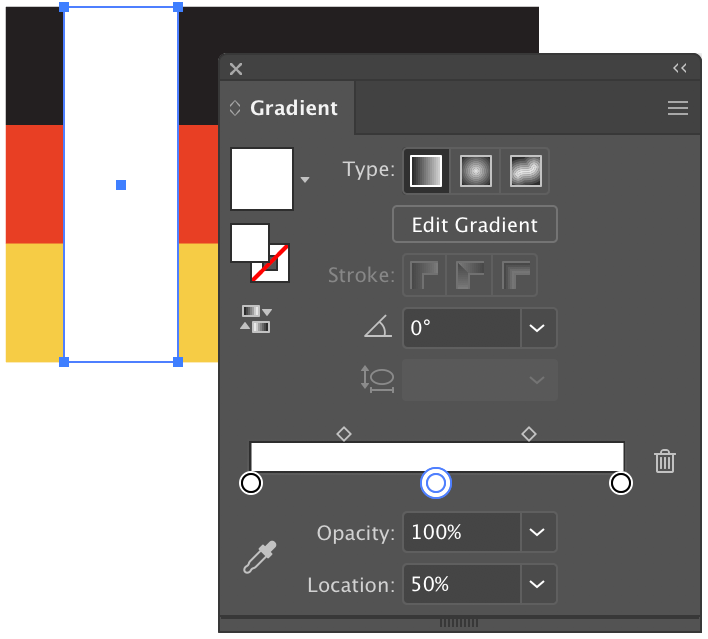
Set the Stroke color to nothing or none. Apply a gradient fill to this square and open the Gradient Panel (Window > Gradient).
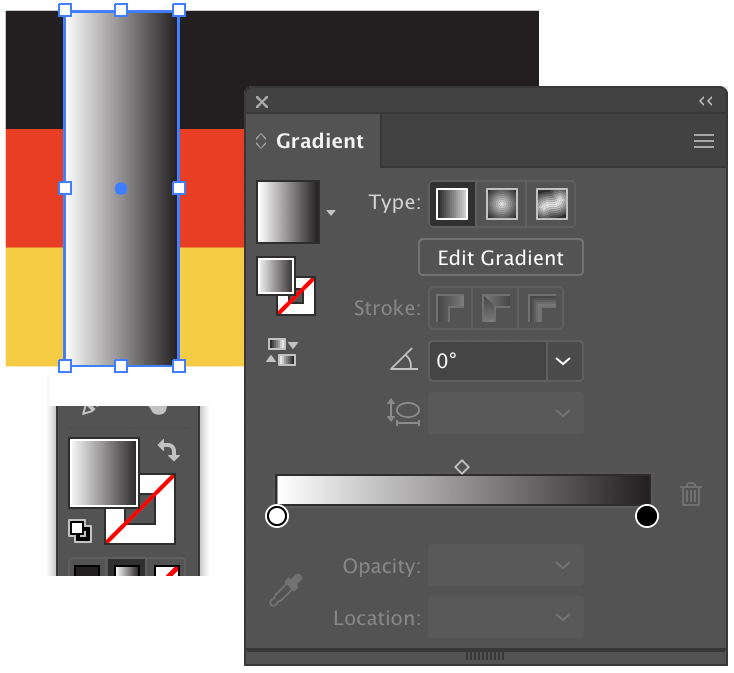
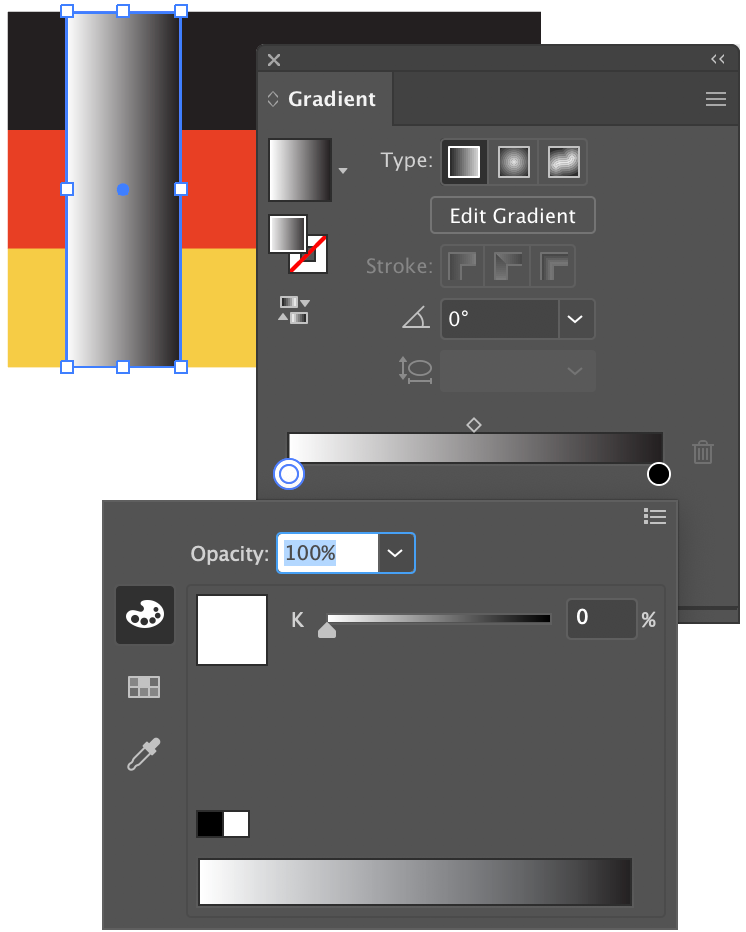
If you applied the default black and white gradient, the colors may be in the Grayscale color space. For this tutorial, you'll want to change them to RGB. To check if the colors are Grayscale, double-click a color box below the gradient strip on the Gradient Panel. If the colors are Grayscale, the color options will show only one color slider (as shown).
Click the option's menu icon in the upper-right to display the color model menu. Select RGB and repeat for the other color box.
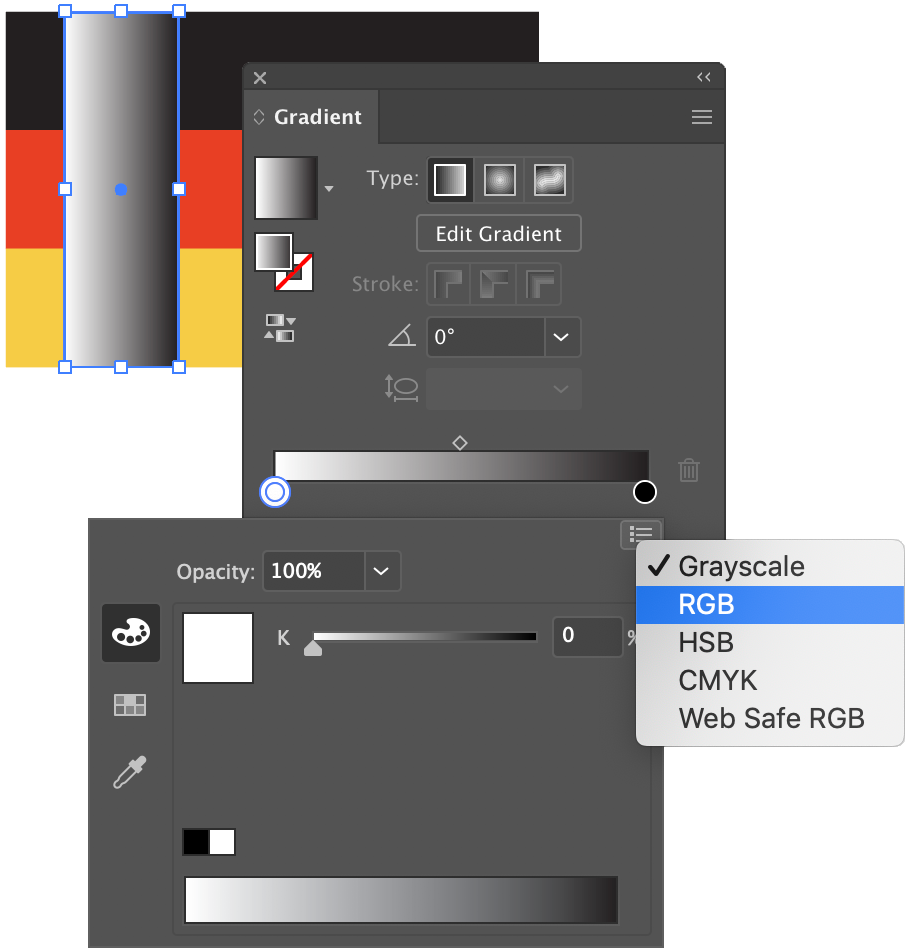
The reason to change these colors to RGB is that, when in Grayscale, you may get some weird color behavior when working with transparent gradients. Always good to check to make sure things go as planned.
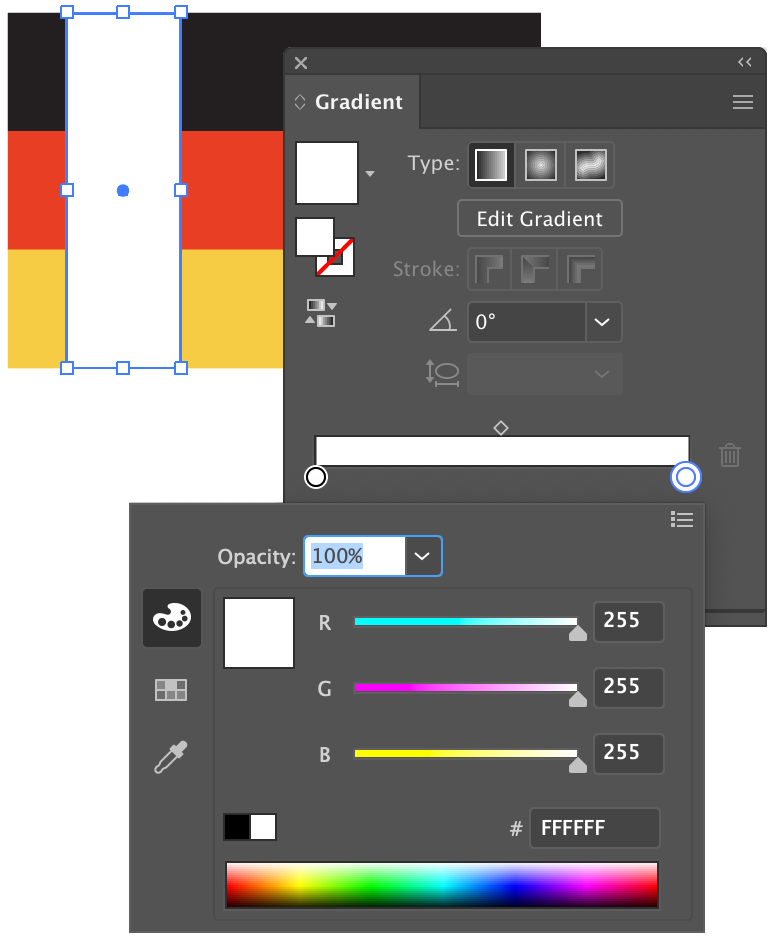
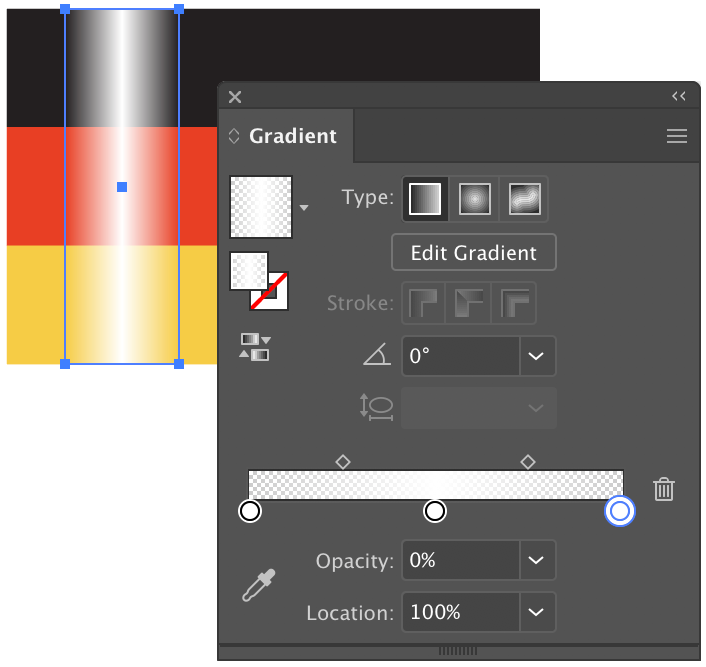
For the next step, change the black color in the gradient to white.
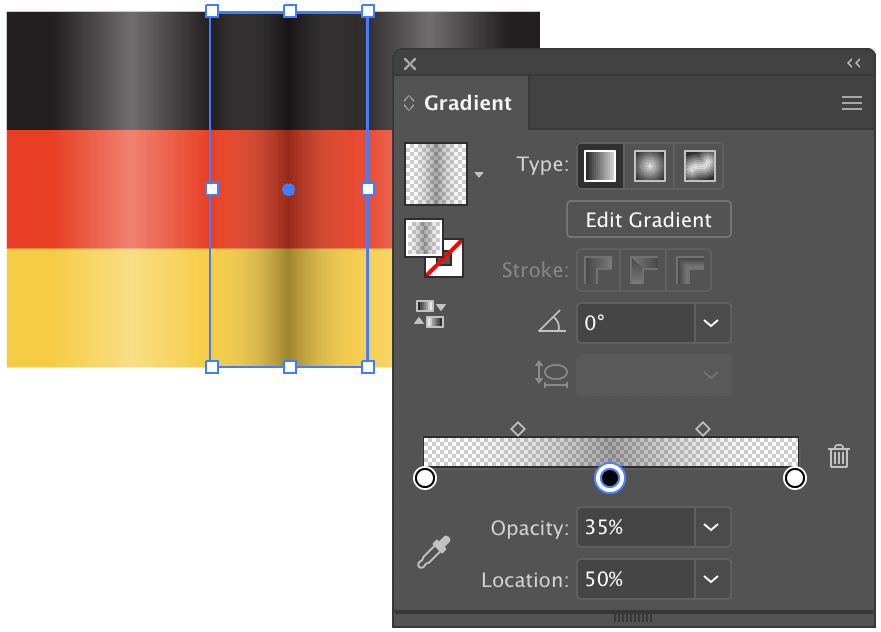
Back on the Gradient Panel, position your cursor just below the middle of the gradient strip and click once to add a third color marker. It should be white like the other two color markers.
Set the opacity for the two outside color markers to 0%.
Set the opacity for the middle marker to 35%. This gives the flag a simple but effective highlight.
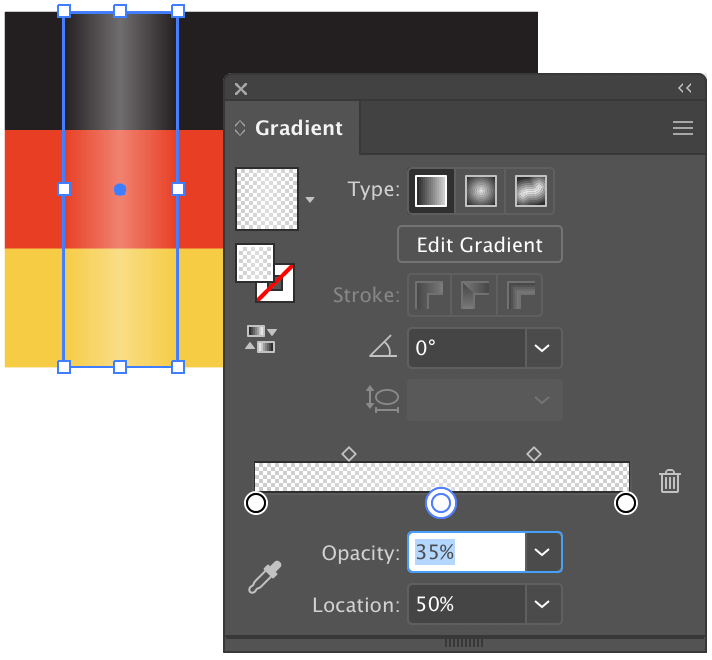
You can adjust the width of the rectangle to adjust the spread of color for the gradient.
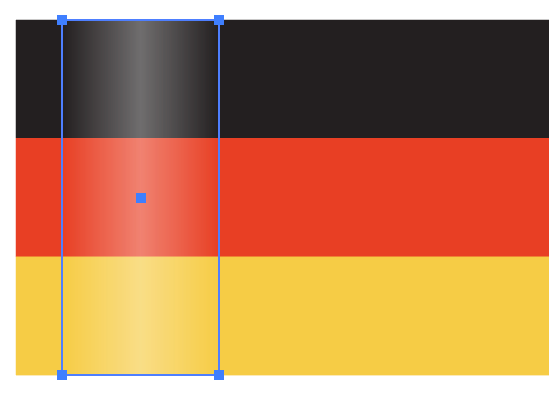
Copy the rectangle and position it near the right side.

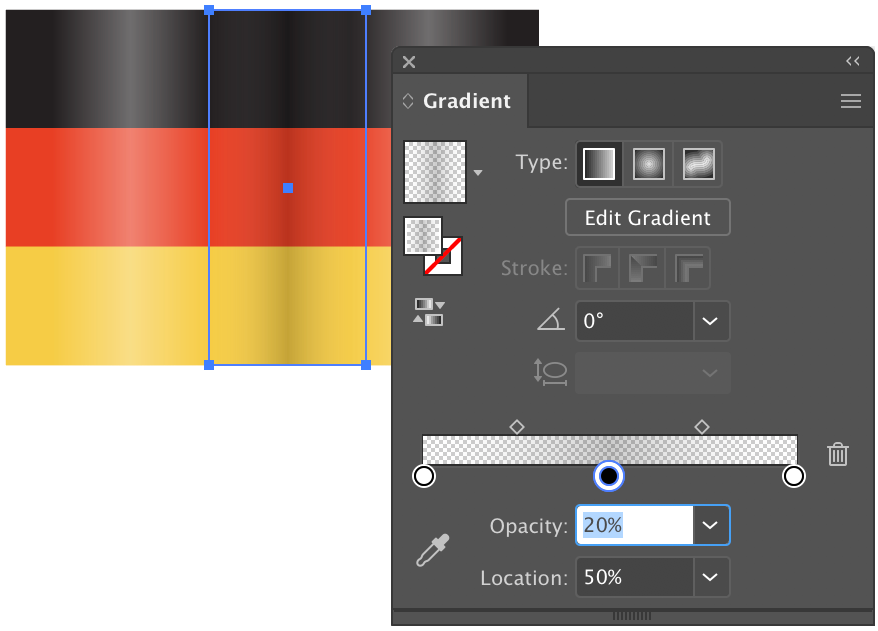
Create another copy and position it between the two other gradient filled rectangles.

Select the middle rectangle and, on the Gradient Panel, change the middle color marker to black. This will provide some shading for the flag.
This shadow is a bit too heavy. Adjust the opacity for the middle marker down to 20%.
Select all of the shapes and group them together via Object > Group. This will ensure that all of the shapes will behave as one shape when applying effects.
Go to Effect > Warp > Flag. This will display the warp options.
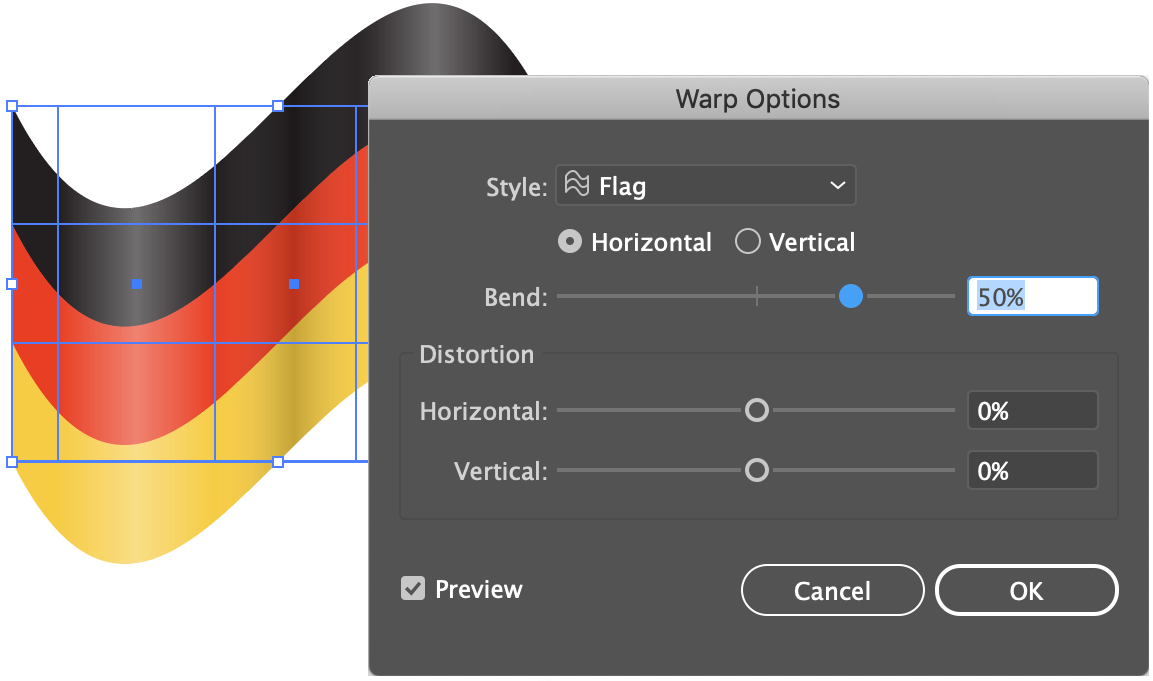
This is a very wavy flag so adjust the Bend setting to around 15% and click OK.

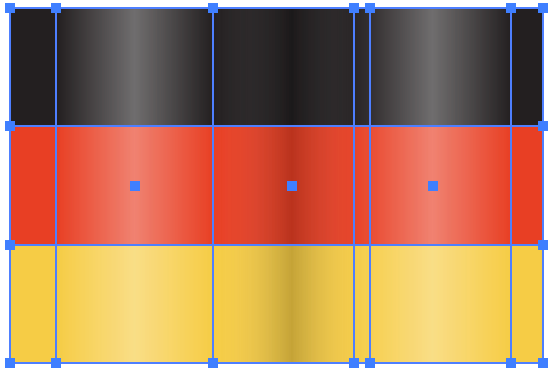
Had we not grouped all of the objects together, the Warp effect would have been applied to each individual shape, resulting in a mess like this. Note that the default Bend value of 50% is shown in the example.
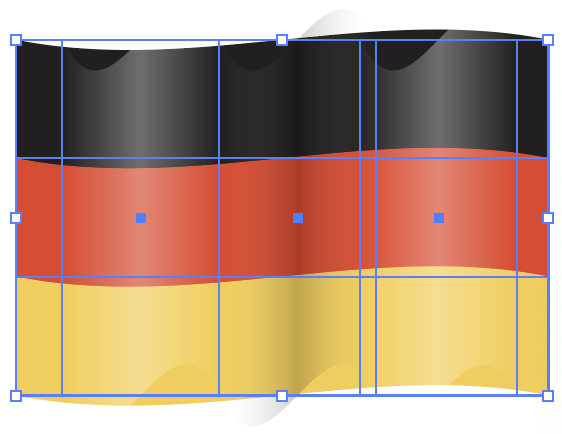
Here is the final result.

If you wish to make adjustments to the width of the gradient boxes or the colored strips of the flag, double-click on an object. This will isolate the object from the others in the group. The top of your document will display a gray bar with the layer name, the group name and the individual shape you have selected.
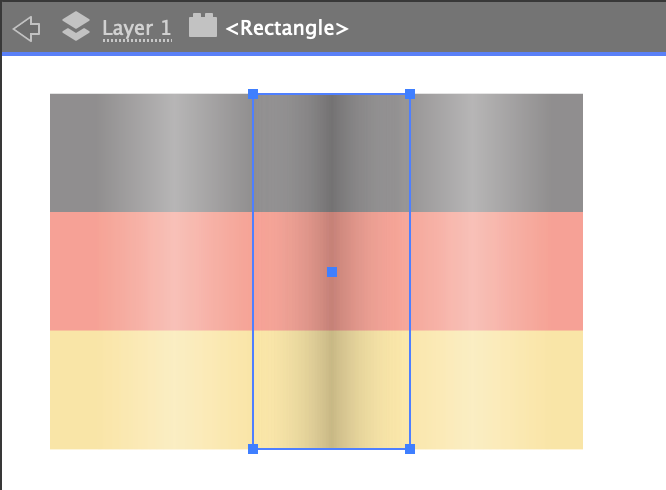
To exit this mode, click in an empty area of the gray bar or your workspace.
Thank you for participating in this tutorial. Please close the window to return to the lesson.