Learning Objectives
In this lecture, you can expect to:
- Use the Eyedropper Tool.
- Use the Polygon Tool.
- Delete parts of a path.
- Reset the bounding box orientation.
- Use the Dropshadow and Round Corners effects.
Creating Unique Shapes
Create a rectangle that matches the dimensions of your document and use the Align Panel to center it over the Artboard using the technique you learned in creating the document icon.
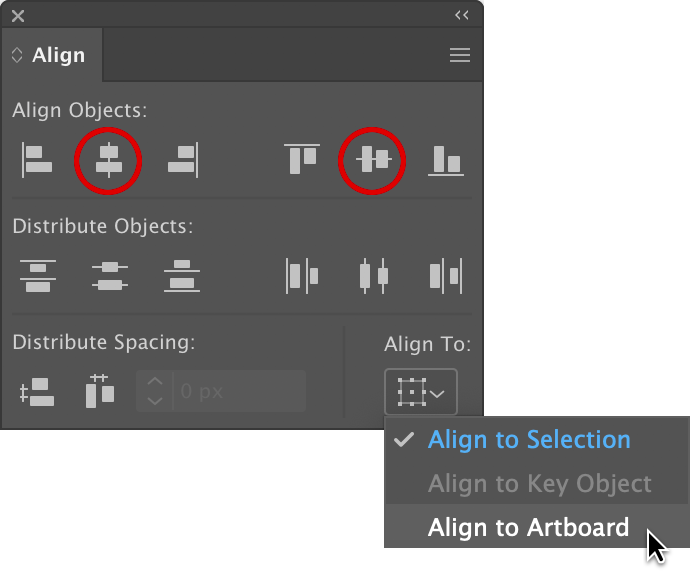
Choose Align to Artboard.
For color, remove the stroke on the rectangle if it's present and select a light gray for the fill. Your choice of gray should be dark enough to show contrast for white objects. As a test, I drew a quick rectangle. I deleted it afterwards.
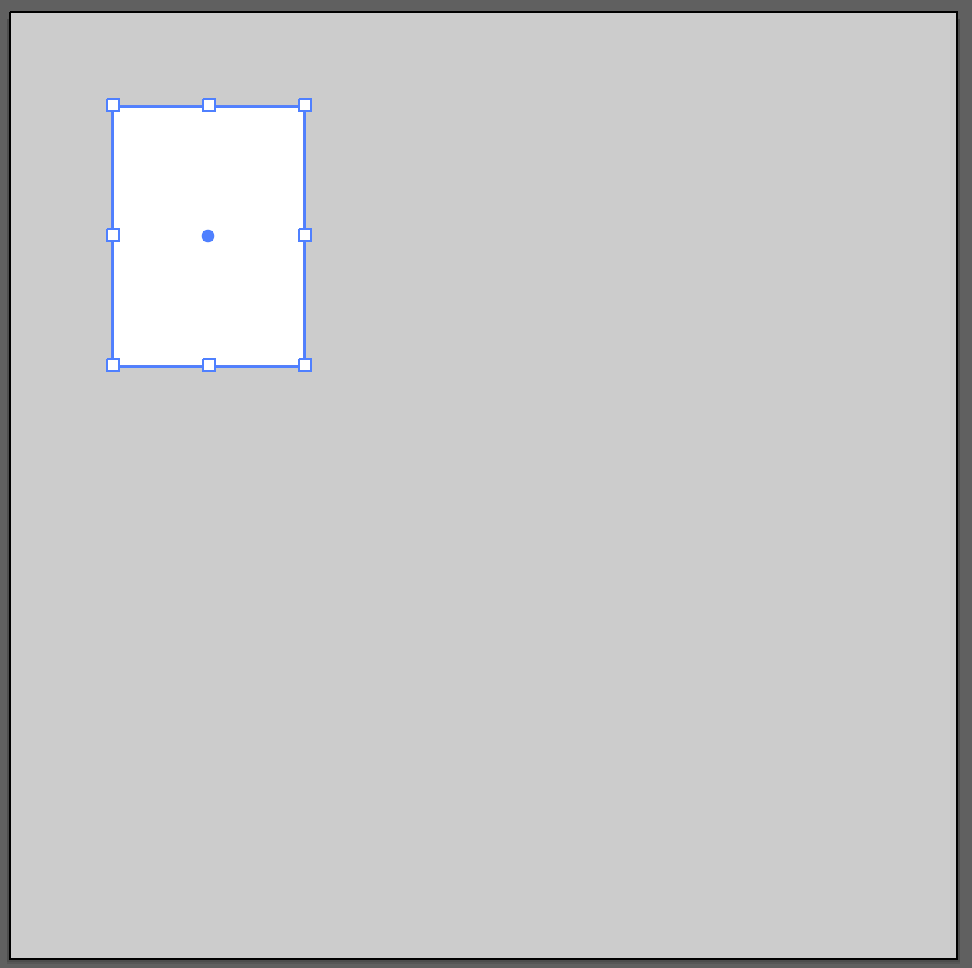
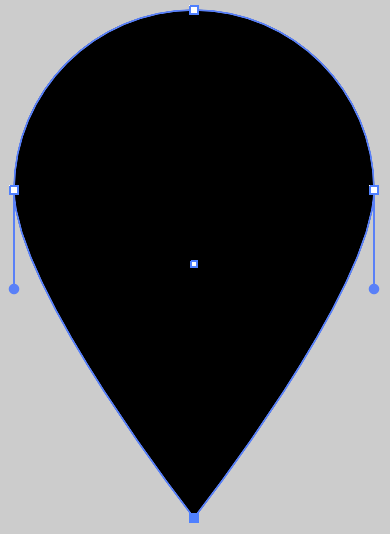
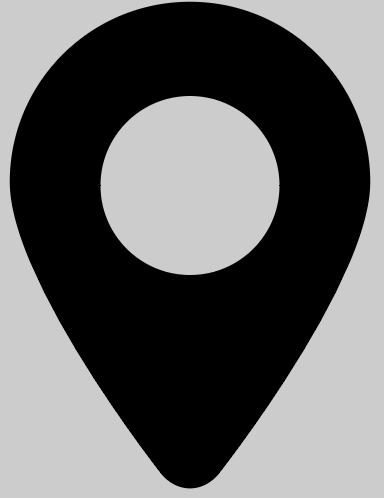
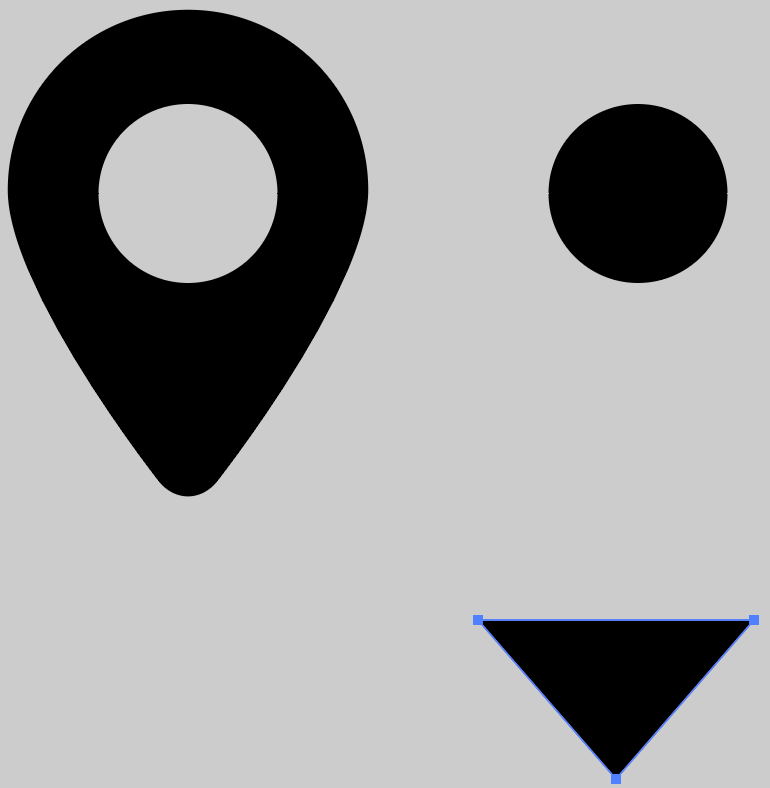
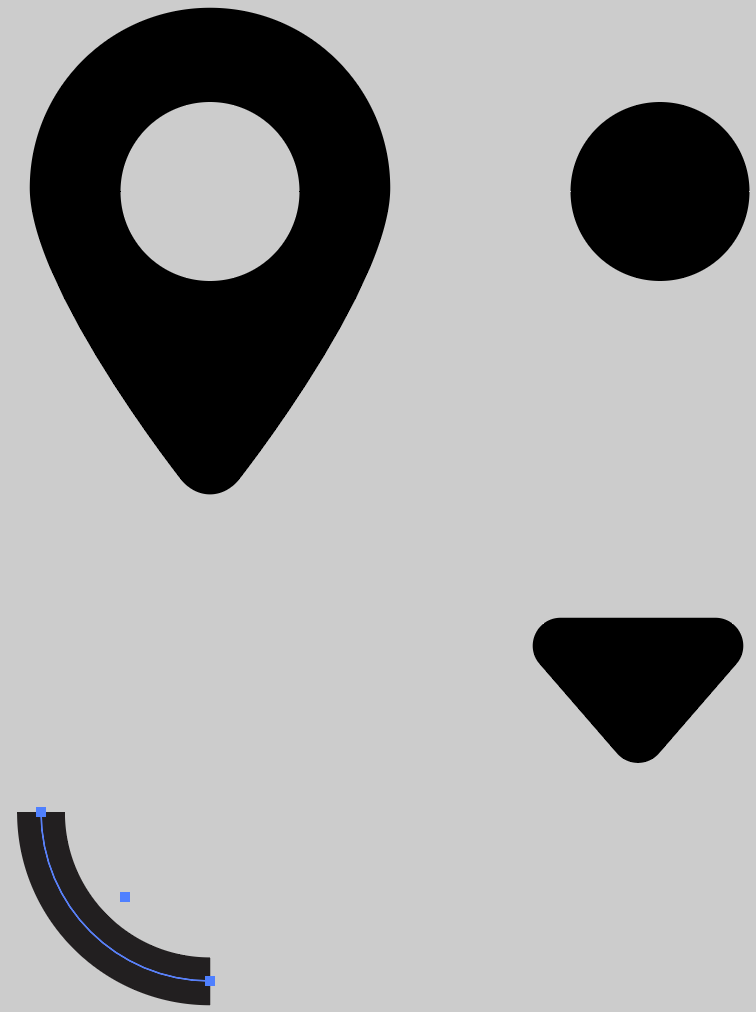
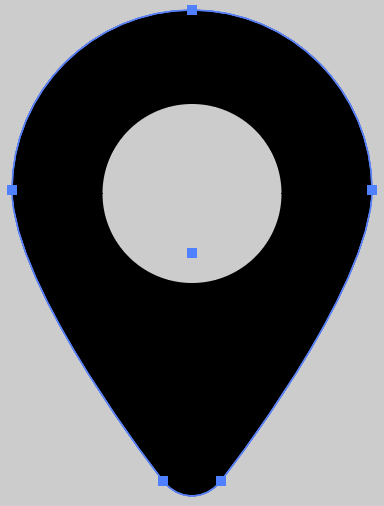
Next, draw a largish circle in the upper-left of the Artboard. Color this as black for a fill color and no color for the stroke.
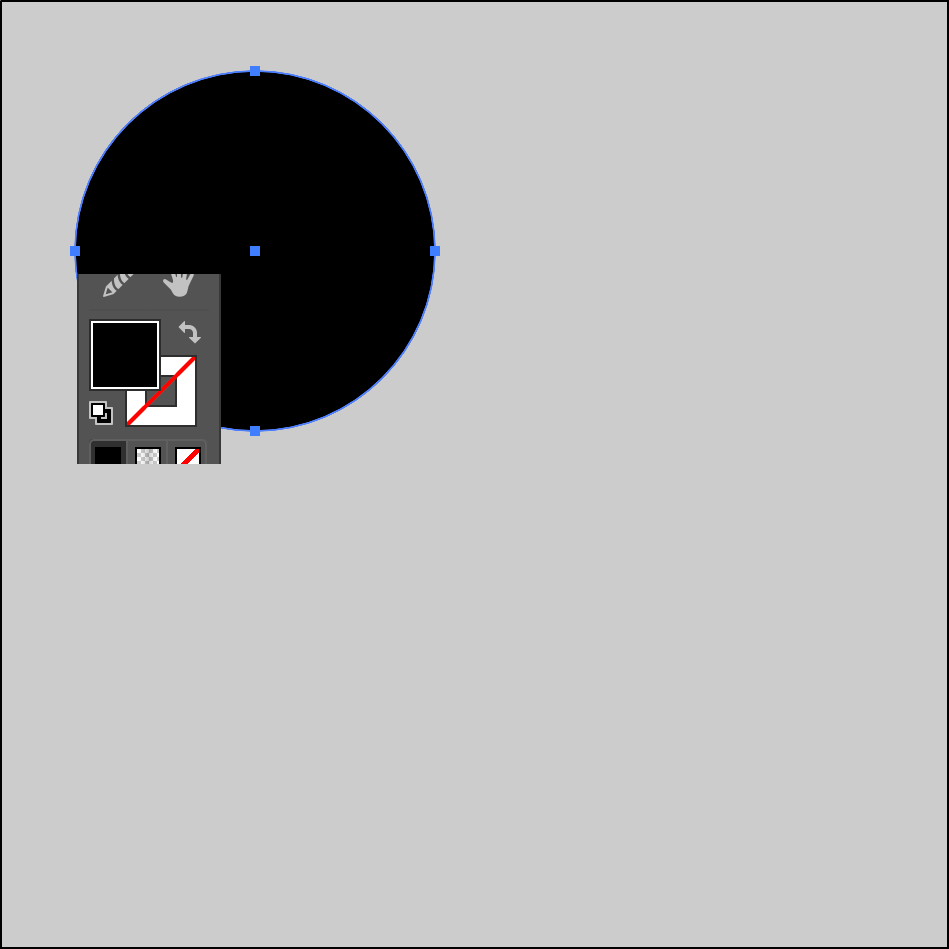
Select the Anchor Point Tool (formerly called the Convert Anchor Point Tool) and locate the anchor point on the bottom of the circle and click once. This will change the smooth curve to a pointed end.
Use the Direct Selection Tool to select this sharp anchor point and click/drag it down to elongate the shape. Hold down the Shift key as you drag to maintain a constrained, vertical drag.
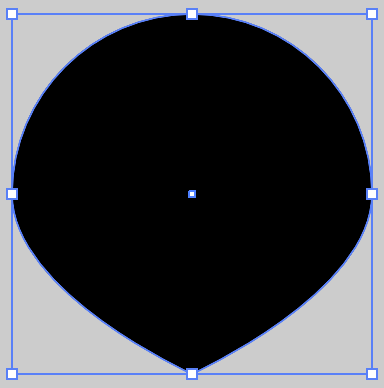
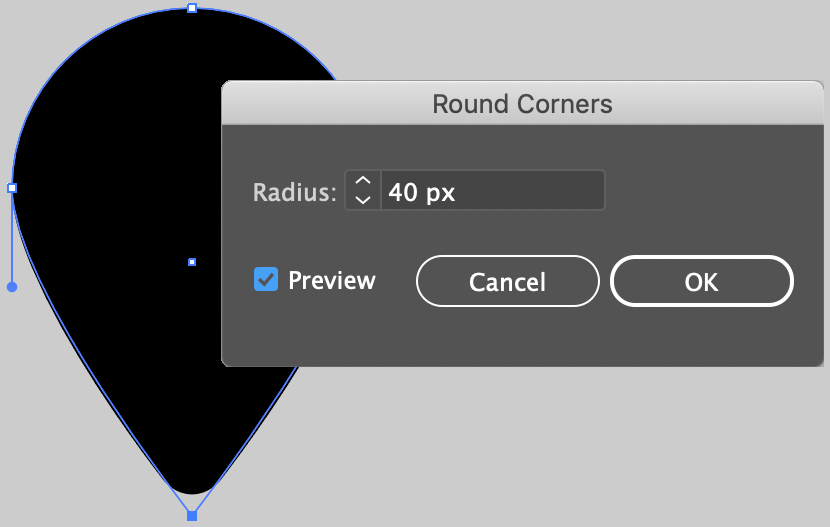
Drag a selection marquee, using the Direct Selection Tool, around this bottom point. Go to Effect > Stylize > Round Corners. Enter a value for your shape that rounds the bottom to look similar to what I have here. Your shape may be either larger or smaller than the one I have so adjust the value accordingly.
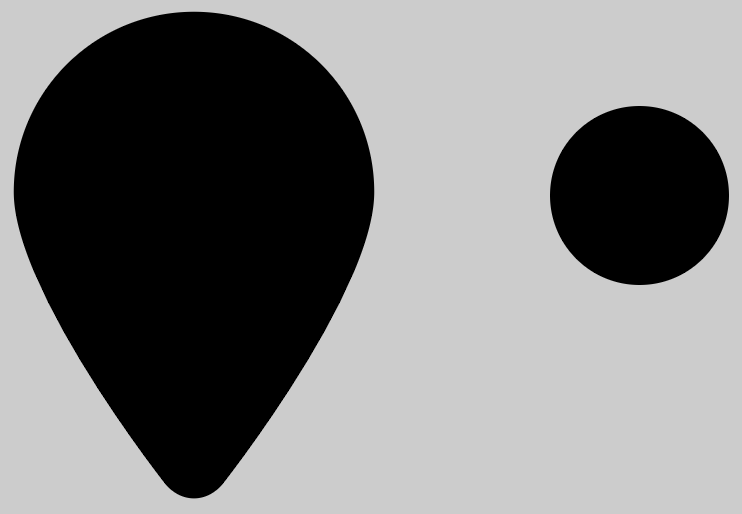
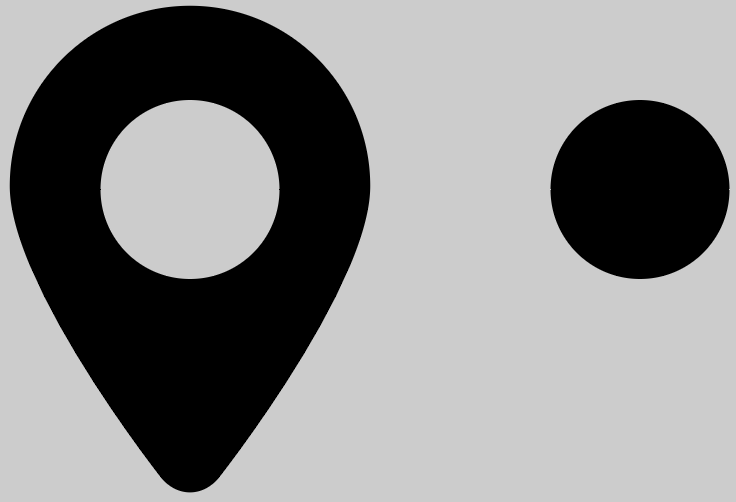
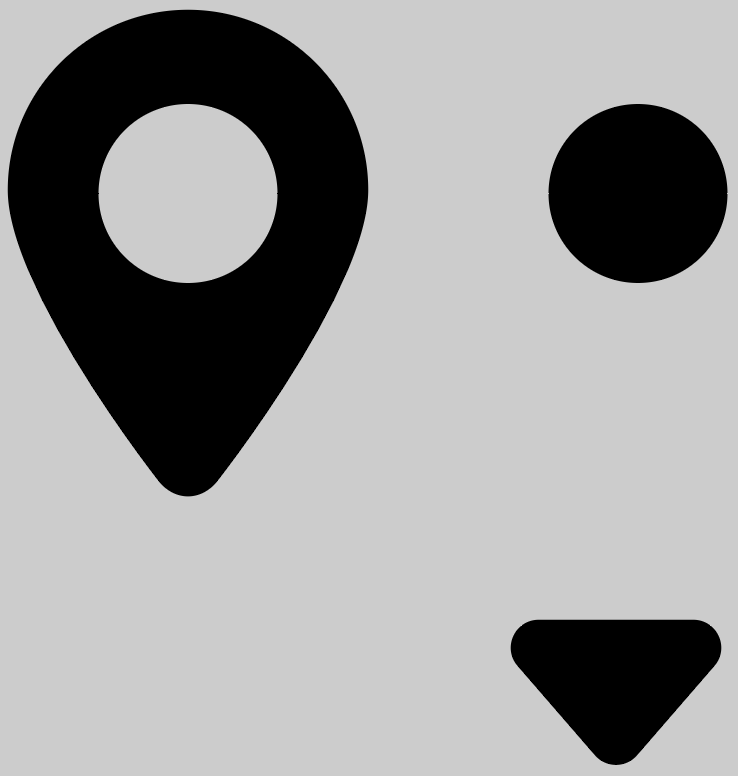
Next, draw a smaller circle that's similar to what you see here in relation to the larger object.
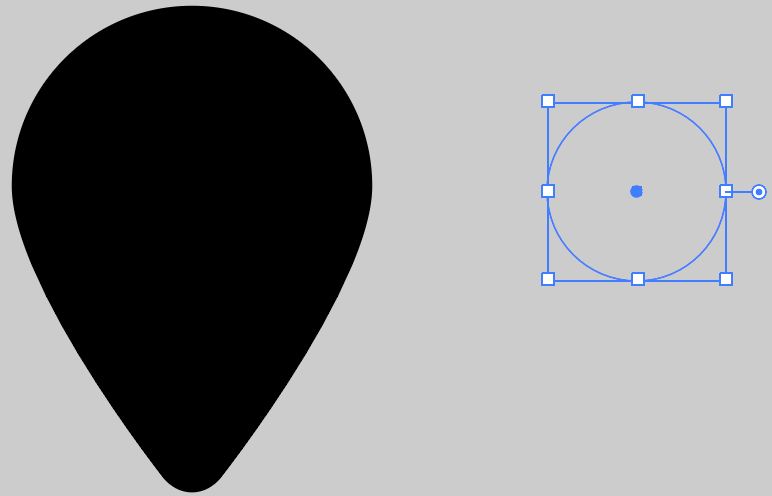
Select the smaller circle and click the Eyedropper Tool in the toolbar. Click once on the gray background to change the black to gray.
Position the circle over the larger shape. This will serve as one of the dog's eyes.
With that circle in the proper position, select it and drag it over to the right using the Option key (Mac) / Alt key (Windows) + Shift key technique to copy. Use the Eyedropper Tool again and sample the black from the larger shape. We now have two eyes.
Select the Polygon Tool and, below the two objects, click/drag out a polygon shape but don't release the mouse just yet. The goal here is to create a triangle so if your polygon has too many sides, press the Down arrow key a few times on your keyboard until you get three sides. And to keep the shape constrained to 45 degree angles, press and hold down the Shift key as you're dragging. If necessary, resize the triangle to match what you see here.
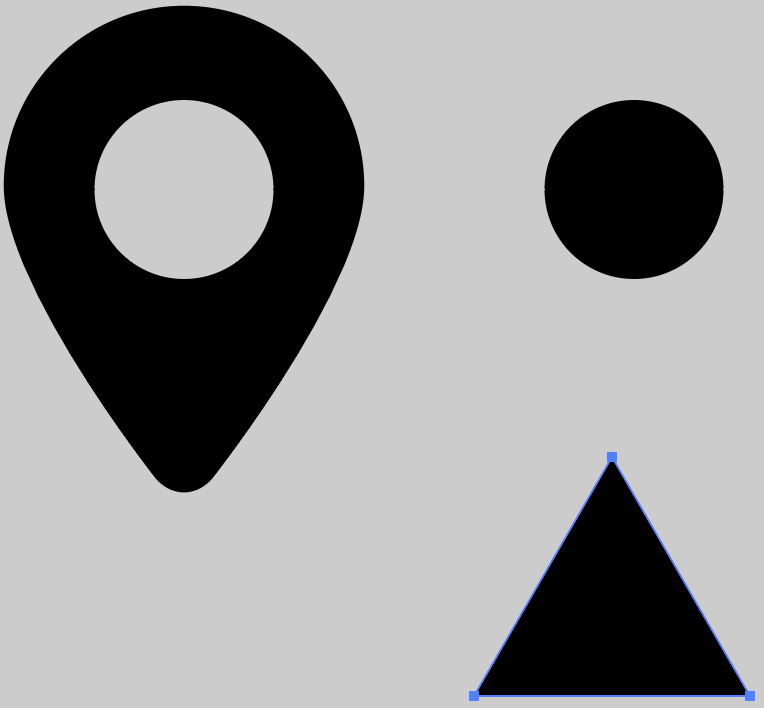
Select the triangle and, using the bounding box for the object, orient it to what you see below. Hold down the Shift key to constrain rotation to 45 degree angles.
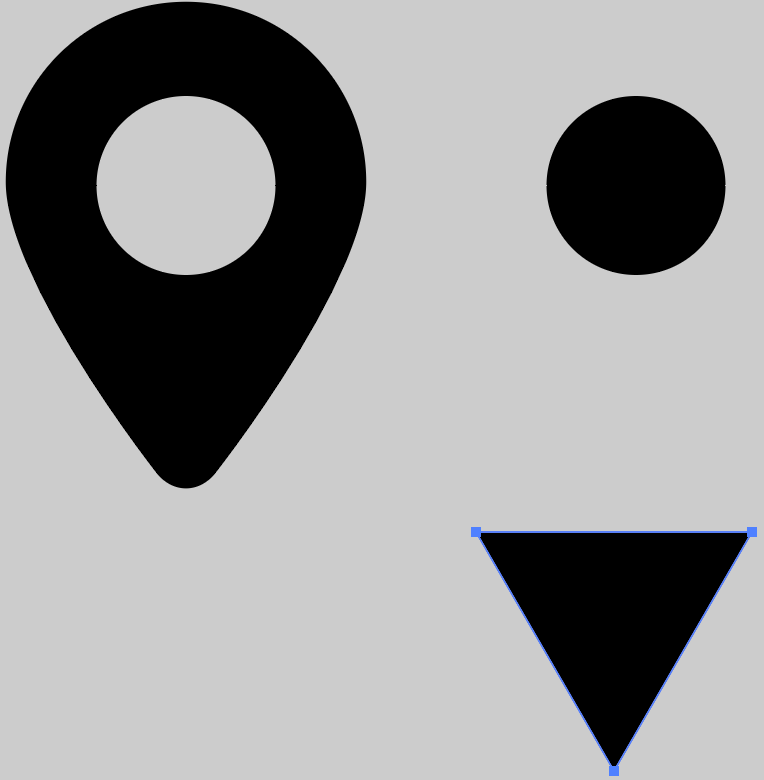
Next, use the bounding box and squash down the triangle shape a bit.
Round the corners on the triangle. If using CC 2014 (or higher), use the corner widgets to round the corners otherwise use the Round Corners effect. Your result should be similar to the following.
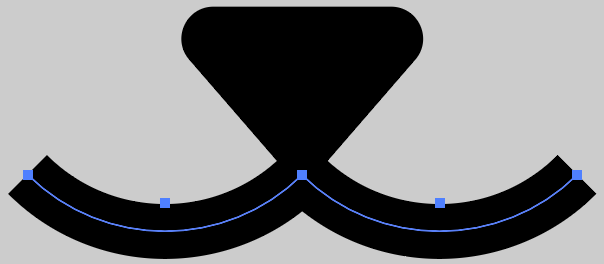
Next comes the mouth. Using the Ellipse Tool, draw a circle that's about the same size as shown. Eliminate the fill and switch to a black stroke. I used a stroke weight of 40 to increase the thickness of the path. Adjust the width for your circle accordingly.
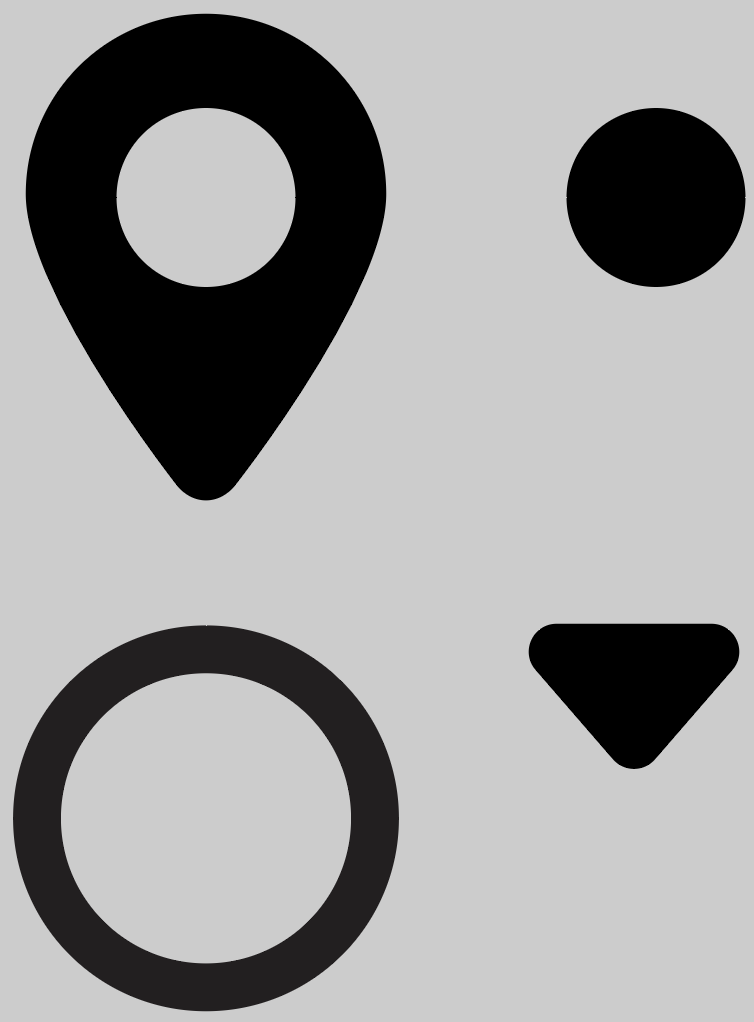
Use the Direct Selection Tool and select the top anchor point. Press the Delete key. This removes not only the anchor point but any paths connected to it.
Select the top right anchor point and hit Delete. You will be left with a gentle arc.
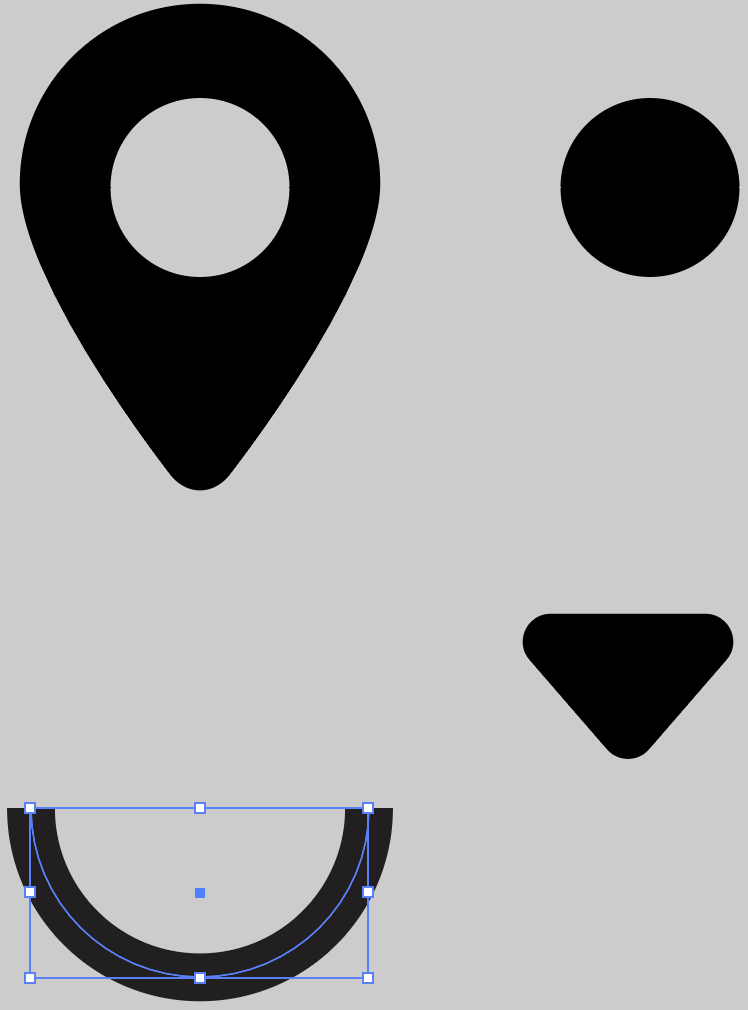
With the object selected, hold down the Shift key to constrain rotation to a 45 degree angle. Rotate to duplicate the arc's position here.
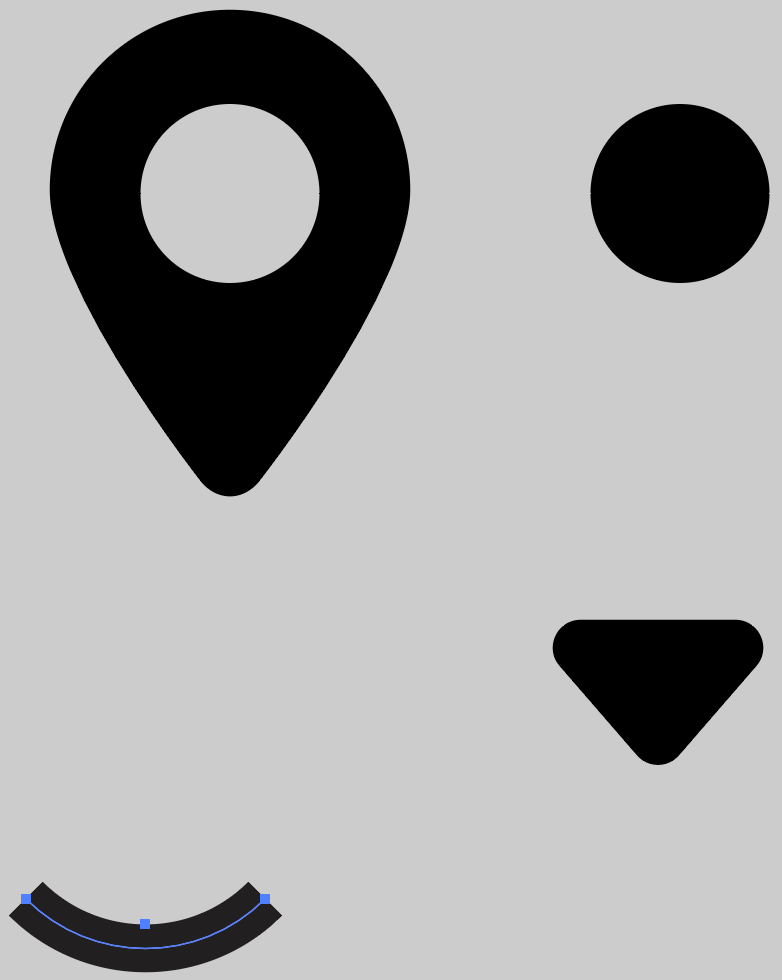
Make a copy of the arc and, using Smart Guides, line up the end anchor points on the arc to achieve the following. I simply left one arc in place and selected an end anchor point with the Selection Tool and dragged it over to the other endpoint.
Once I released my mouse button, I got the following result.
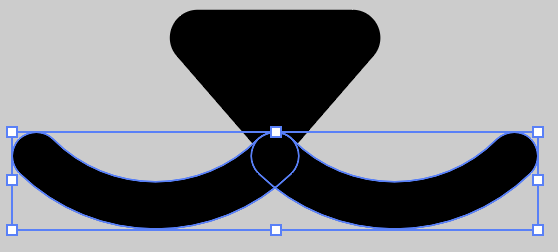
Here's where I'm at so far.
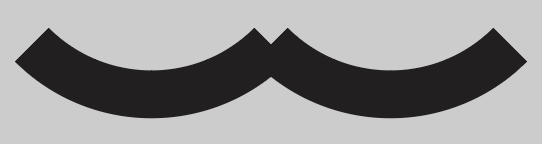
Select both arc shapes and drag them up toward the bottom of the nose, like so. I used the Selection Tool and clicked where the two anchor points intersected so I could drag them and use Smart Guides to help me line up these points with the bottom anchor point on the nose shape.
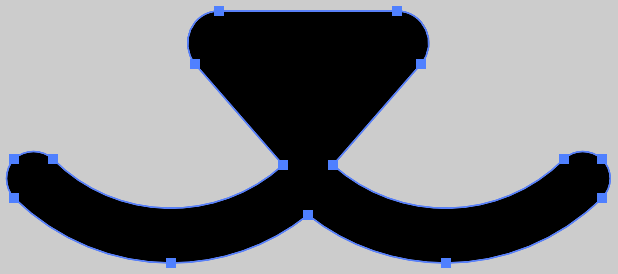
At this point, the arcs are still strokes so we can style them with rounded ends so they match the round corners of the nose and the eye patch shape. From the Stroke Panel, click Round Cap.

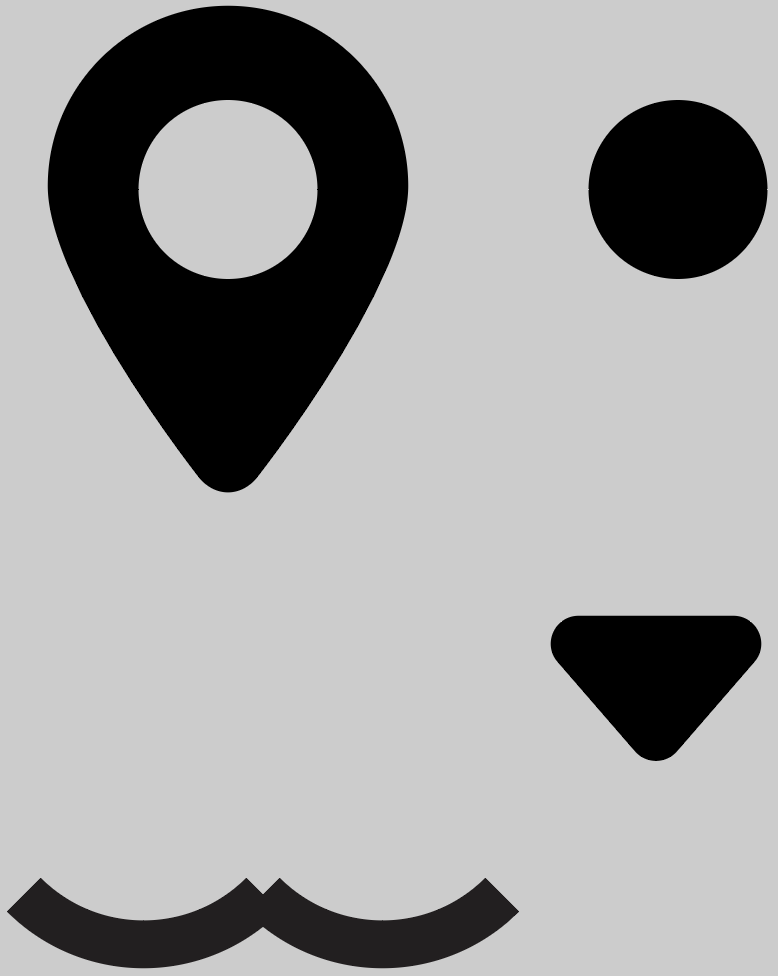
Earlier, we applied the Round Corners effect to the eye patch shape. If we removed that effect now, the bottom of the shape will revert to being pointy. To make the rounded corners permanent, select the eye shape and go to Object > Expand Appearance. If necessary, repeat this command on the rounded nose shape.
So the mouth/nose parts are not ultimately where they should be. Select the three objects and reposition them similar to where I have them, sort of centered between the two circles that make up the eyes.

There's our dog face but we have a tiny bit more work to do. I want to apply an effect to all of these shapes but strokes can throw things off. As such, I need to convert the arcs from strokes to regular objects. Select the arcs and go to Object > Path > Outline Stroke.
Select the nose and arcs and merge them together using the Unite command on the Pathfinder Panel (Window > Pathfinder). This is the left-most button on the top row of the panel. Here's the result.
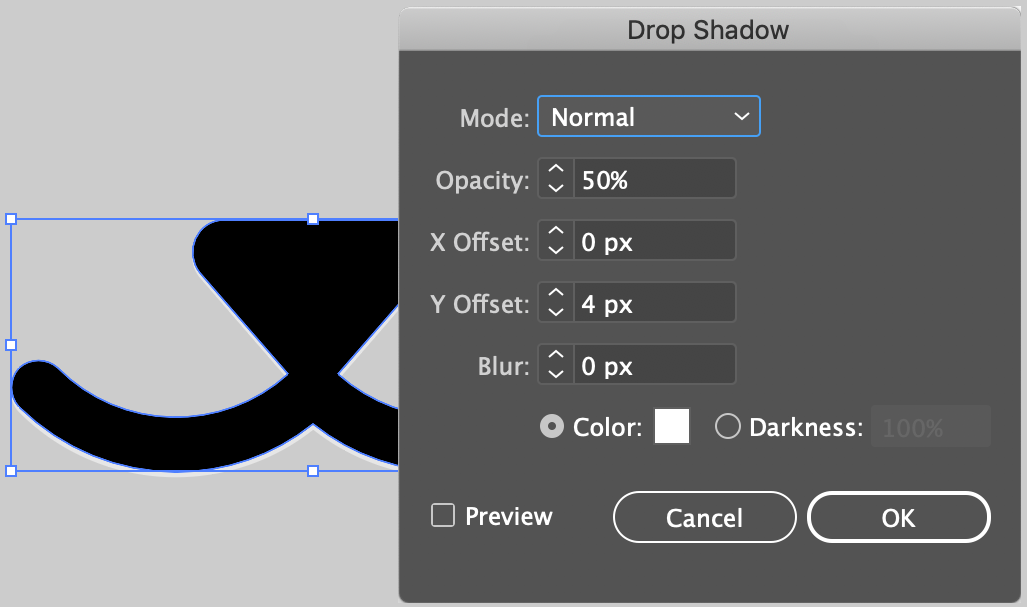
Let's add a little effect to this face that gives it an incised look. Select the mouth/nose shape and go to Effect > Stylize > Drop Shadow. Enter the values shown and click OK. If you shapes are larger or smaller than mine, you may need to adjust these values.
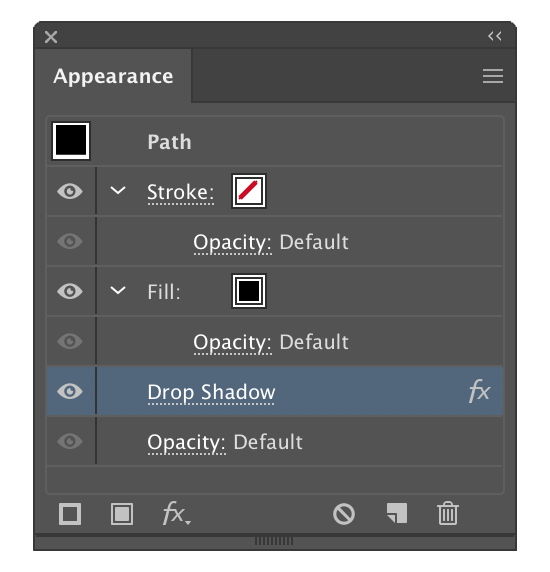
Rather than repeat this for the other shapes, we could have simply selected all of the black shapes. However, I want to show you a useful trick to help save you time in the future. Open the Appearance Panel (Window > Appearance). With the mouth object still selected, you will see all the color/opacity/effects attributes for it.
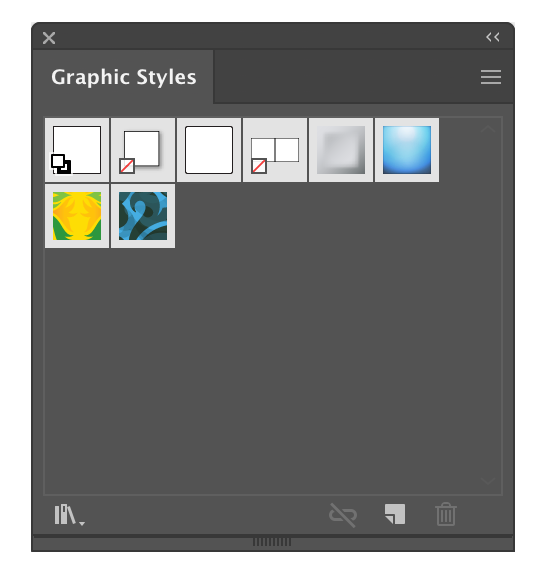
Now open the Graphic Styles Panel (Window > Graphic Styles). Any of the swatches here can be dragged onto an object to change their appearance.
Back on the Appearance Panel, note the swatch square in the upper-left (just under the panel's name). Click and drag this onto the Graphic Styles Panel.
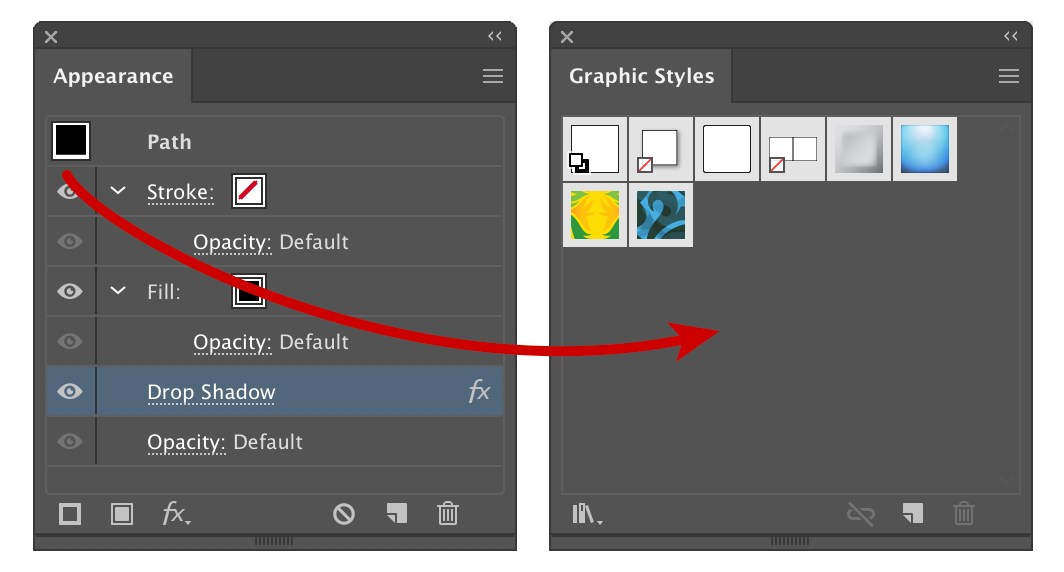
Now, you can select the other black shapes and click this new style once and, voila, you have a reusable style. Here is the final result.

Here is your finished artwork.
Thank you for participating in this tutorial. Please close the window to return to the lesson.