
Learning Objectives
In this lecture, you can expect to:
- Adjust stroke positions in relation to their origin object.
- Separate a stroke from an object.
- Knock out shapes from other shapes.
- Convert type to objects.
Turning Strokes into Objects
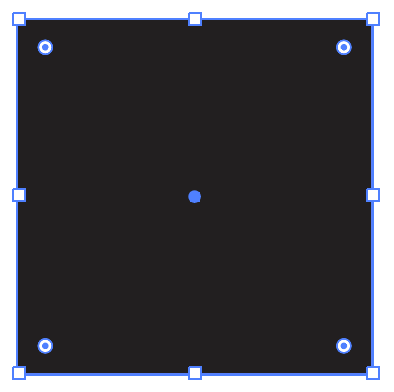
Create a new document and use the Rectangle Tool and draw a square that uses the dimensions shown here.
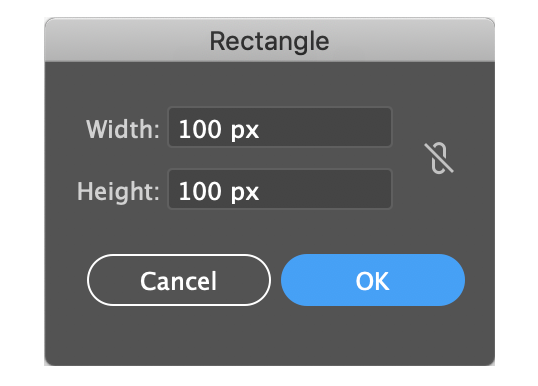
For color, set the fill to black (for now) and the stroke to no color, or None.
Create a second rectangle with the following dimensions.
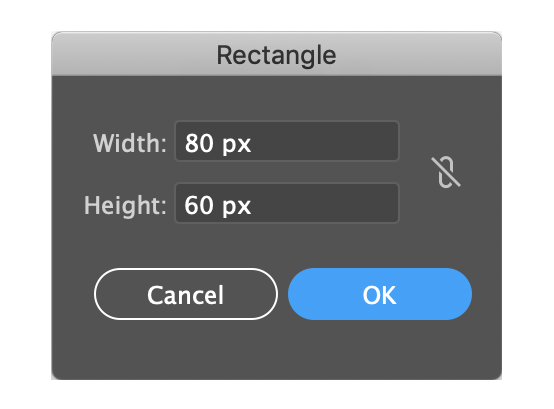
Position this rectangle over the larger rectangle as shown.
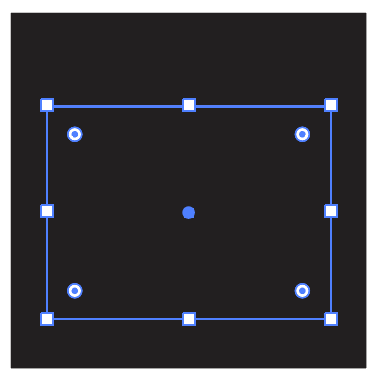
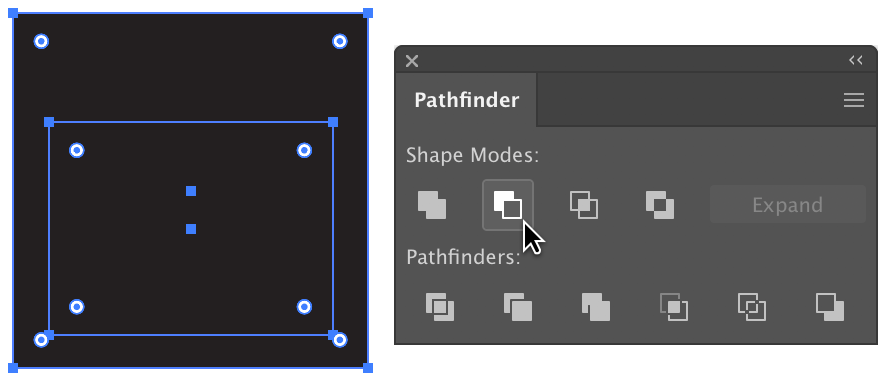
Select both rectangles and open the Pathfinder Panel. Click on the Minus Front command. This will knock out the smaller rectangle through the larger rectangle.
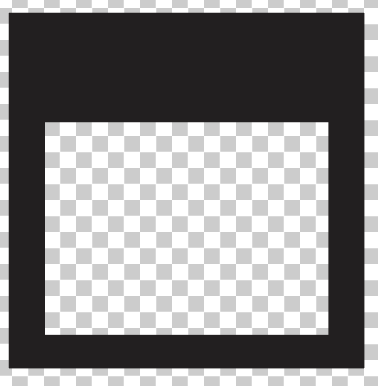
Here is the result with the Transparency Grid enabled (View > Show Transparency Grid) so you can see a hole has been made as a result of the Minus Front command. This hole will, eventually, hold the calendar date.
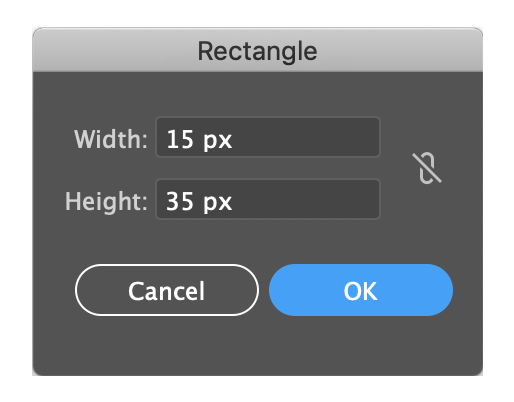
Use the Rectangle Tool again to draw another square with the values shown.
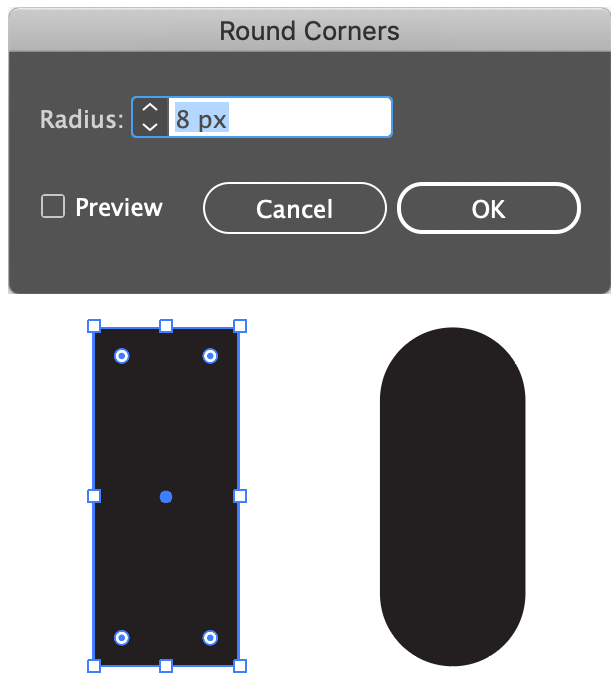
If necessary, zoom in and click and drag the corner widgets on the shape to round the corners to their maximum. If you have an earlier version of Illustrator, select the rectangle, go to Effect > Stylize > Round Corners and enter a value of 8. Click OK and then go to Object > Expand Appearance to make the effect permanent.
Select the shape and keep the click held down. Press down and hold the Option key (Mac) / Alt key (Windows) plus the Shift key and drag to the side of the shape to make a copy that maintains the same baseline as the original. Release the click, then the modifier keys.
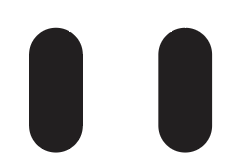
Select both shapes and position them over the top of the square shape as shown.
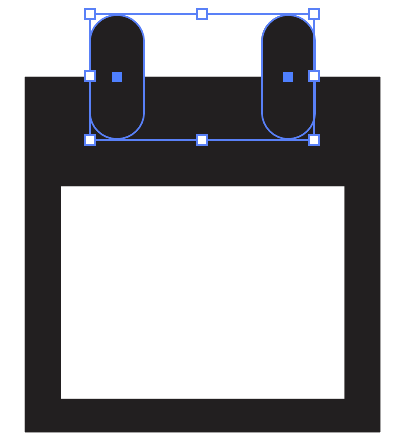
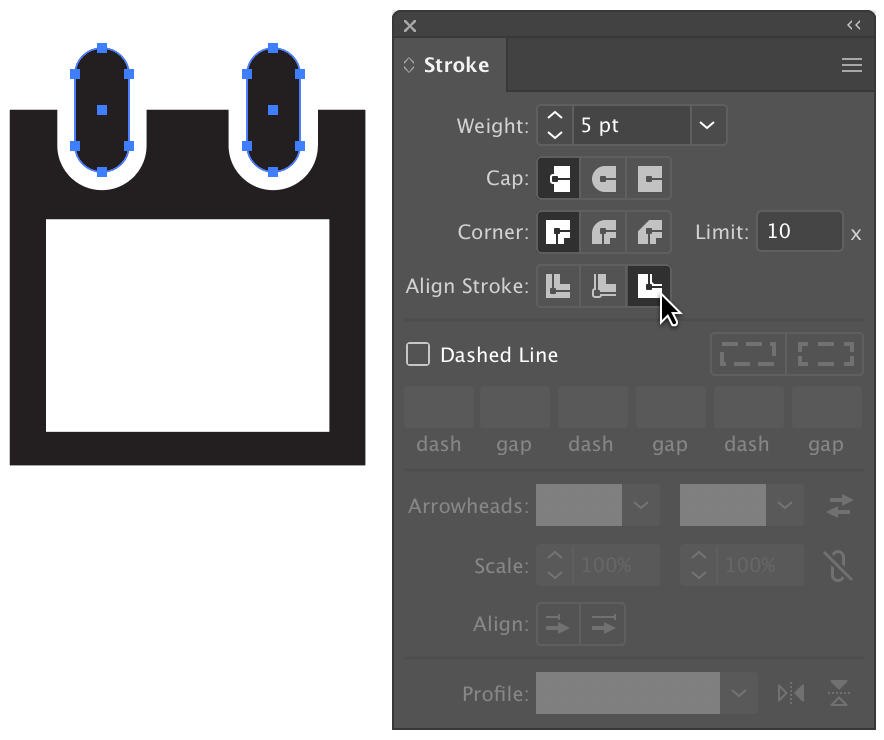
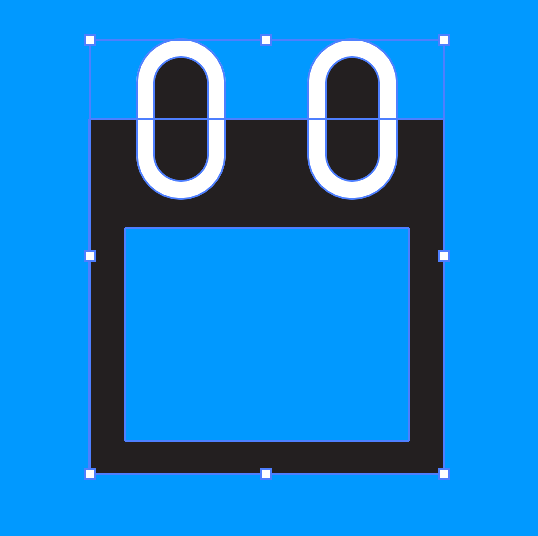
What’s needed is contrast on these rounded rectangles against the square. To do this, set the stroke color on the rounded rectangles to white and, on the Stroke Panel, increase the weight value to 4 and click “Align Strokes to Outside” for Align Stroke.
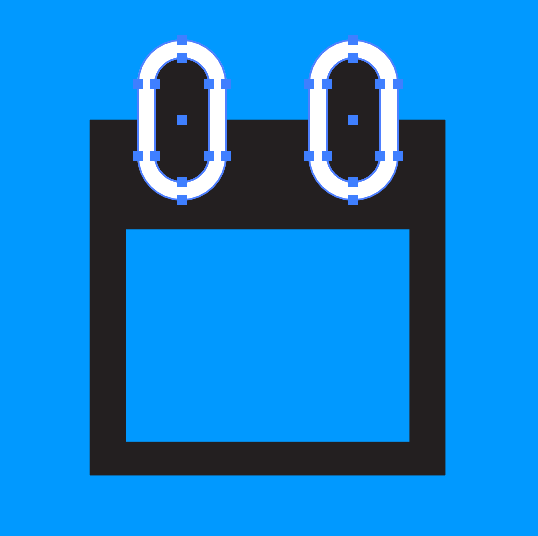
To make this icon versatile against any background color, we need to do additional work. Note how the strokes stand out against this background? It’s not something you really notice against the white background since the strokes themselves are white.

If you disable the strokes, you’ll see the shapes again lack contrast.

The strokes will be used to knock out holes in the upper part of the rectangle shape. Select both rounded rectangles and go to Object > Path > Outline Stroke. This converts the strokes to regular objects.
The previous command groups the former strokes with the rounded rectangles. Apply the Ungroup command (Object > Ungroup) to separate them. If necessary, zoom in to select both of the white shapes. When selected, go to Object > Compound Path > Make. This tells Illustrator to treat these two shapes as a single shape.
Hold down the Shift key and click on the black square shape. You should now have the two white shapes and the black square selected.
Open the handy Pathfinder Panel and click the Minus Front command. The two white shapes will disappear and leave holes in the black square.

Select the Type Tool and enter a calendar number within the empty area of the black square. The font color should match that of the black square for consistency. Bold fonts are best suited for these numbers.

Convert the type to outlines via Type > Create Outlines. By doing this, you won’t have to worry about sending this icon to someone who doesn’t have the typeface installed that you used for the number. Lastly, select all of the shapes and group them together (Object > Group).
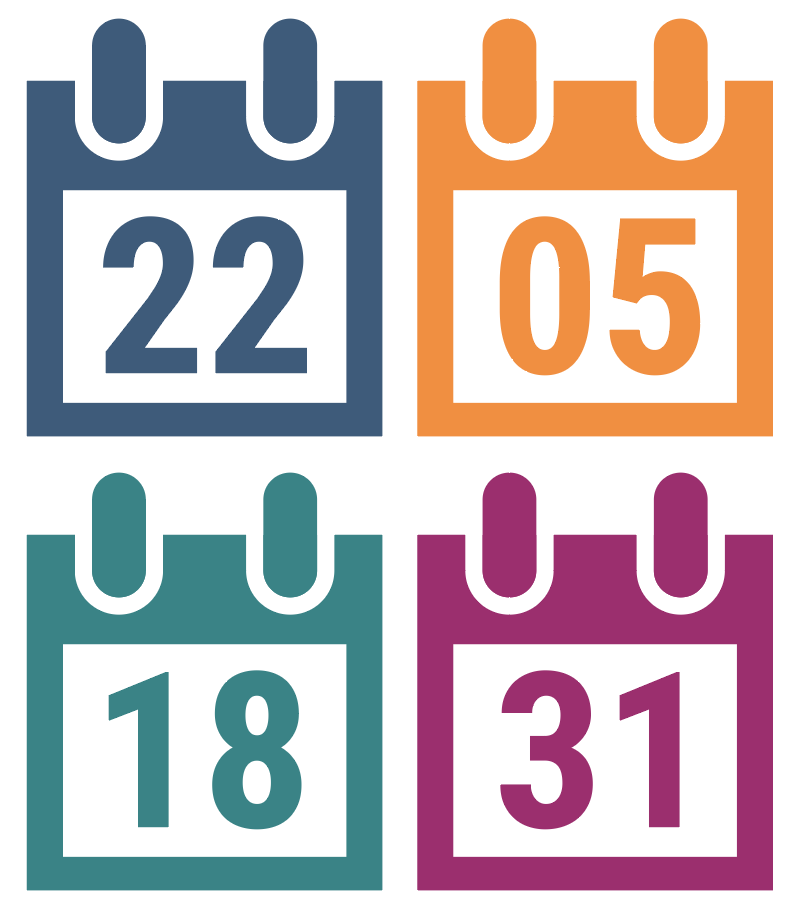
And feel free to change the color to whatever you like.
Thank you for participating in this tutorial. Please close the window to return to the lesson.