Learning Objectives
In this lecture, you can expect to:
- Use the Ellipse Tool.
- Use the Rounded Rectangle Tool.
- Divide objects with other shapes.
- Use the Add Anchor Point Tool.
- Use selection tools.
- Manipulate objects with bounding boxes.
Selecting and Arranging Shapes Tutorial
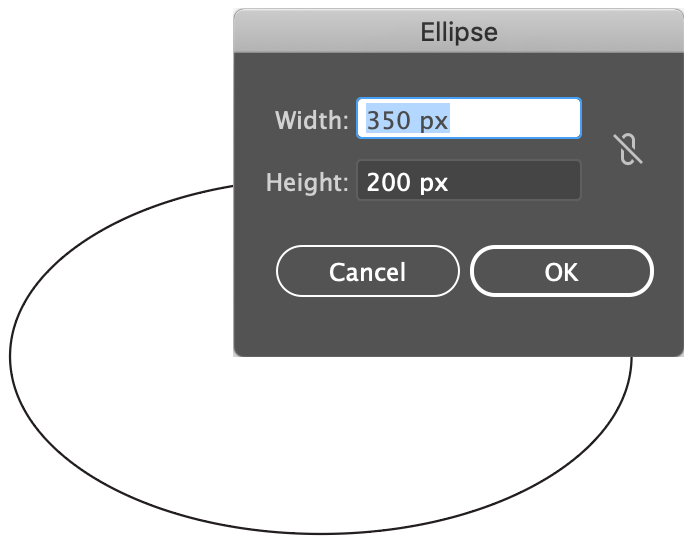
Create a new document with pixels as the unit of measurement. Use 500px as the document’s dimensions. Double-click the Zoom Tool to set the view to 100%. Select the Ellipse Tool and click once within the artboard. Use the values shown and click OK to create a circle that's wider than it is tall.
Enable Smart Guides (View > Smart Guides), select the Line Segment Tool and position the cursor to the left of the circle until a guideline appears that connects to the center point.
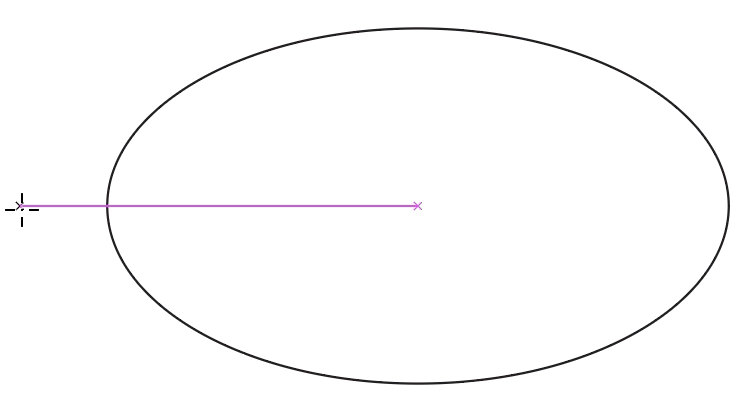
Click and drag out a horizontal line that ends outside of the right boundary of the circle. Hold down the Shift key, if necessary, to maintain a precise line.
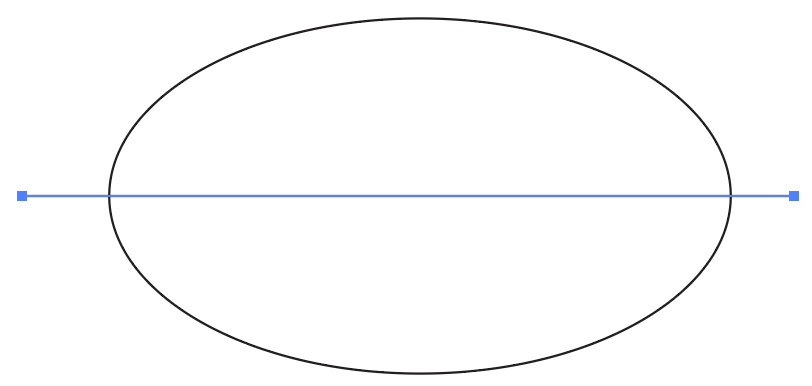
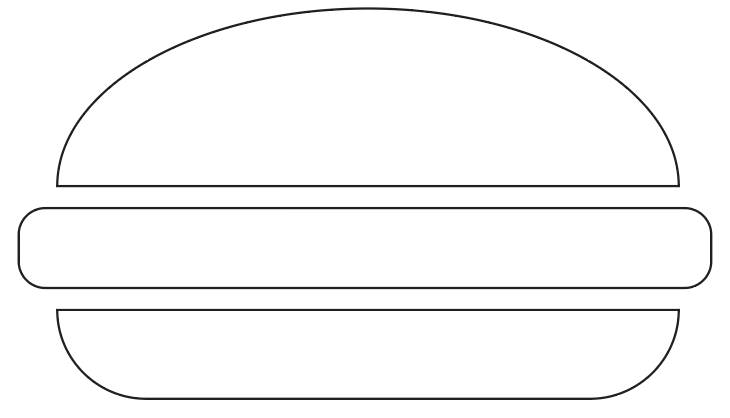
Keep the line selected and go to Object > Path > Divide Objects Below. The line will vanish because it was temporarily used to cut the shape into two pieces. Select the bottom half and hit the Delete key on your keyboard. This creates the top bun of the hamburger.

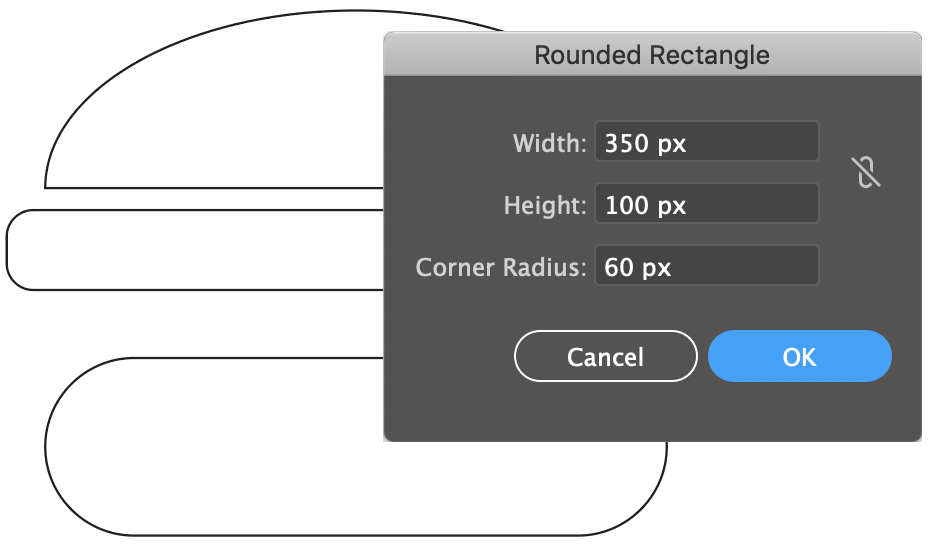
Select the Rounded Rectangle Tool. If you don’t see it and you’re using Illustrator 2019 (or higher) go to Window > Toolbars > Advanced. Click once in the artboard and use the values shown for the dimensions. Click OK. This creates the hamburger patty. Use the Selection Tool to position it as shown.
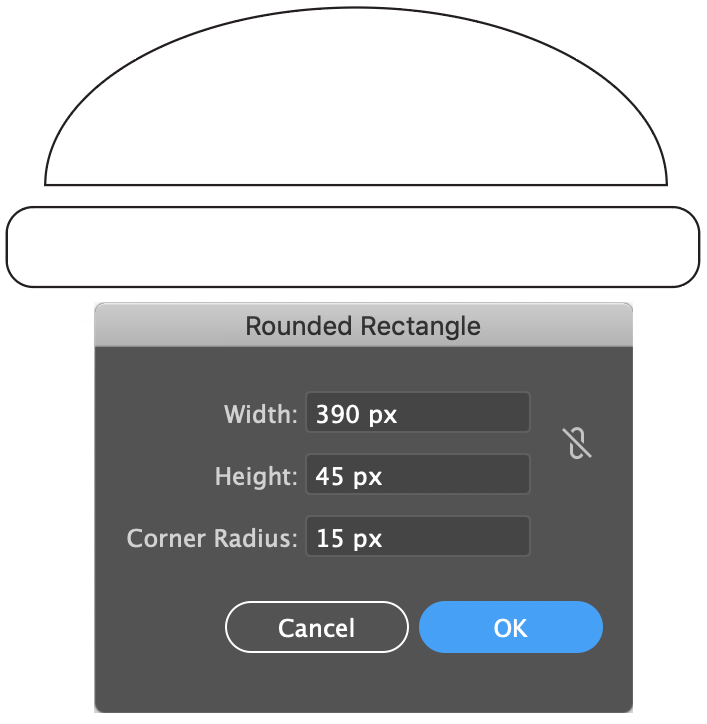
For the bottom bun, use the Rounded Rectangle Tool again. Click once and use the values shown. Click OK.
As we did previously, we will cut this shape in half using the Line Segment Tool. Start and end the line outside the boundaries of this shape. Apply the Divide Objects Below command (Object > Path > Divide Objects Below) and delete the upper half and reposition the remaining shape as shown.
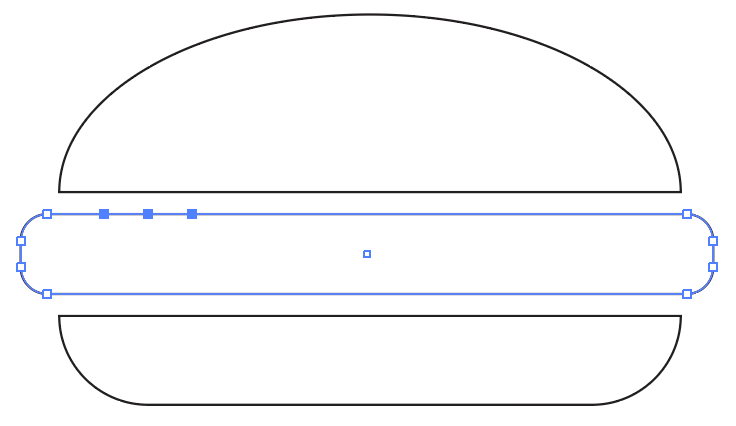
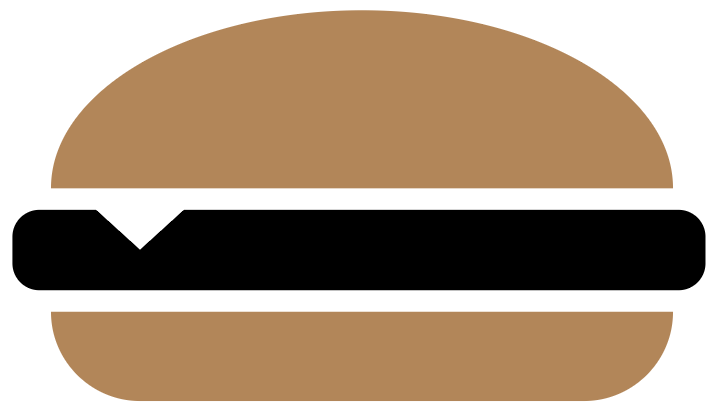
To add the look of a cheese slice on the patty, we will modify the patty shape. Select the patty and then select the Pen Tool (keyboard shortcut of P) or the Add Anchor Point Tool (keyboard shortcut of +) and click on the top left of the patty to add an anchor point in. Add two more next to being sure to leaving some space in between them. The new points appear solid.
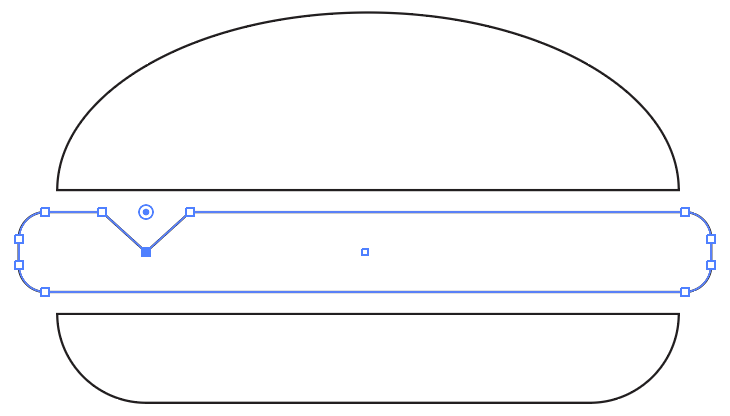
Make a note of the approximate position of the middle point you created. Deselect this shape and click on the Direct Selection Tool (keyboard shortcut of A). Use this tool to select that middle point. Either click and drag it down or use the Down arrow key on your keyboard to move it.
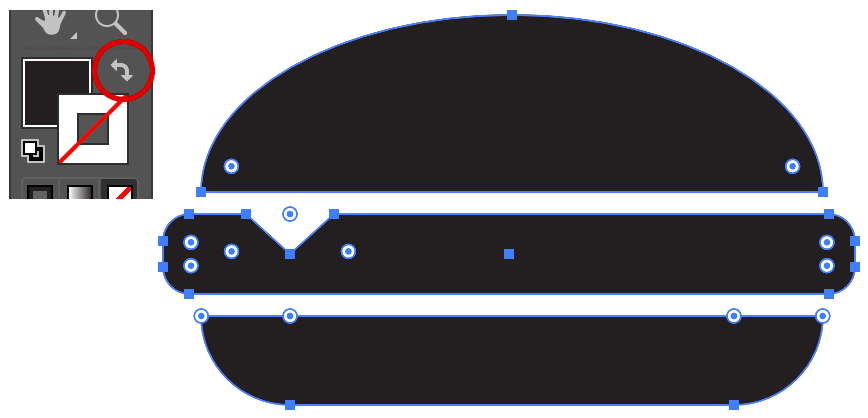
Select all of the shapes with the Selection Tool and click on the double-arrow icon near the Fill and Stroke box at the bottom of the toolbar to swap the stroke color to the fill. If the Stroke box has a color, select it so it overlaps the Fill box and set the color to none or nothing.
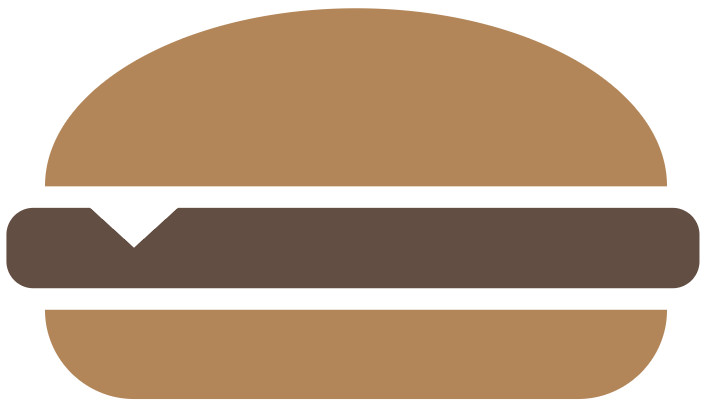
Select the bun shapes and double-click the Fill box. Select a bun color and click OK.
Select the patty shape and apply a hamburger color.
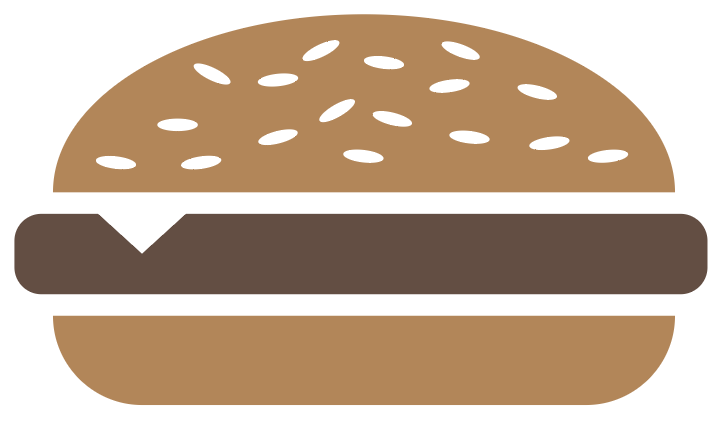
It’s not a burger without a sesame seed bun. Use the Ellipse Tool to draw a flat looking oval. Apply a white fill color to it and place it over the top bun. Create additional copies and arrange them across the bun with the Selection Tool. Use the bounding boxes to change their angle.
Save your file if it’s something you want to hold on to for the future. Learn that save shortcut of Command (Mac) / Ctrl (Windows) + S to avoid always going to the File menu to save.
Thank you for participating in this tutorial. Please close the window to return to the lesson.