Learning Objectives
In this tutorial, you can expect to:
- Use the Rectangle tool to recolor the Artboard.
- Understand strokes and fills.
- Center an object in the Artboard.
- Lock an object into place.
- Use the Rounded Rectangle tool.
- Understand the difference between the Selection tool and Direct Selection tool.
Shape Tools Tutorial
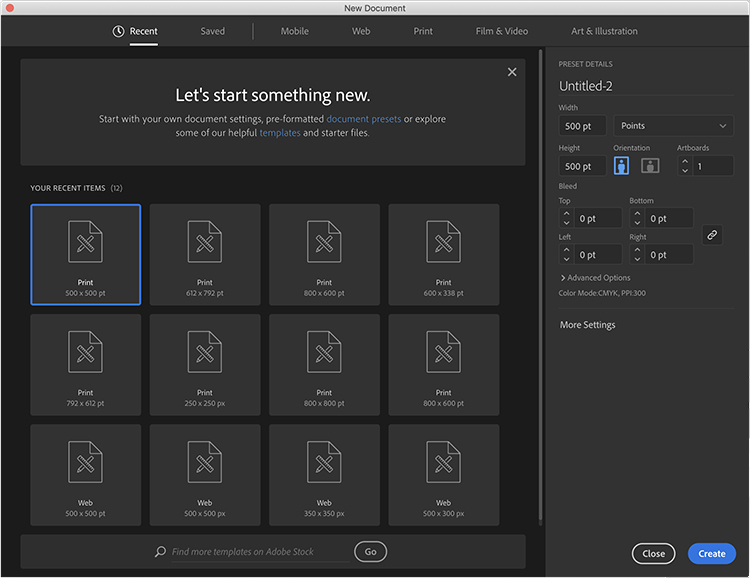
In Illustrator, create a new document (File > New) with pixels as the unit of measurement. Set the width and height to 500px and click OK. In my line of work, those settings (along with choosing portrait or landscape for the document's orientation) are what I use most. The others I rarely touch.
Right out of the gate, double-click the Zoom tool in the toolbar to ensure you're viewing the document at 100% zoom. For whatever reason, with certain Artboard sizes, Illustrator likes to zoom in. This can throw you off the more you work on a design. To further confirm, you can always see the zoom percentage in the document's title bar or down in the lower-left corner.
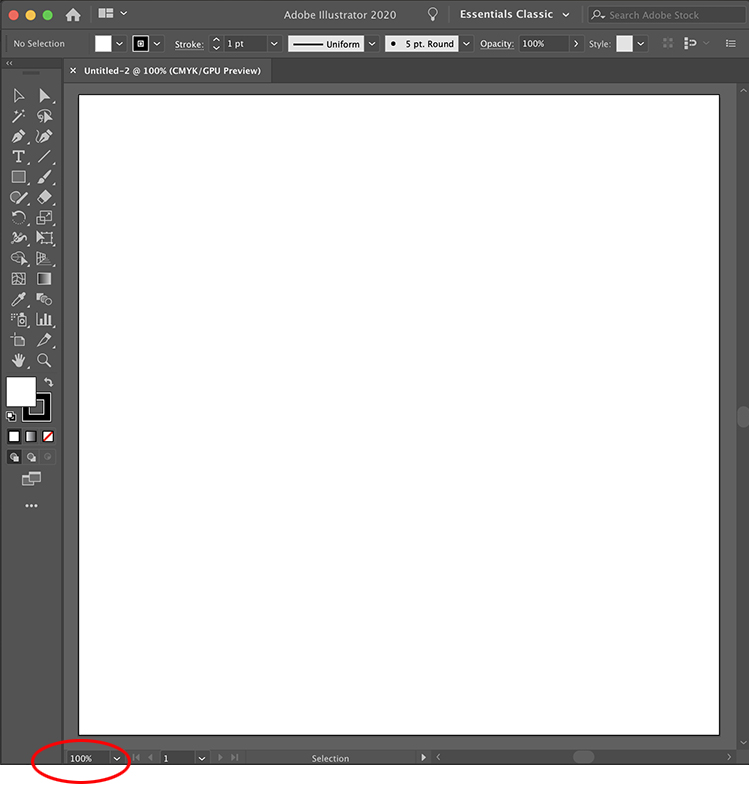
Notice the zoom percentage bottom left.
Much of this icon will be white so, in order to see it, we'll need to change the default white background to, say, black. There's no flood fill tool to recolor a layer's background as there is in Photoshop. Rather, you need to create a colored square or rectangle that matches the dimensions of your Artboard.
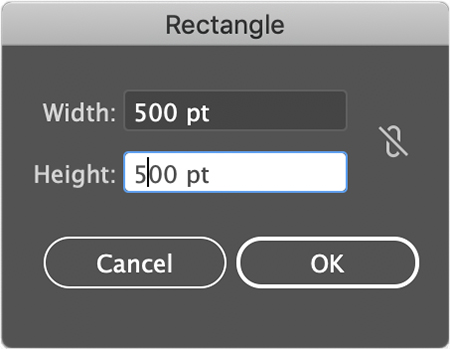
Earlier, you set your document's dimensions to 500px for width and height. As such, you need to create a square with the same dimensions. Click on the Rectangle tool and then click, just once, in the document. The settings for this tool will appear. Use the values shown below and click OK.
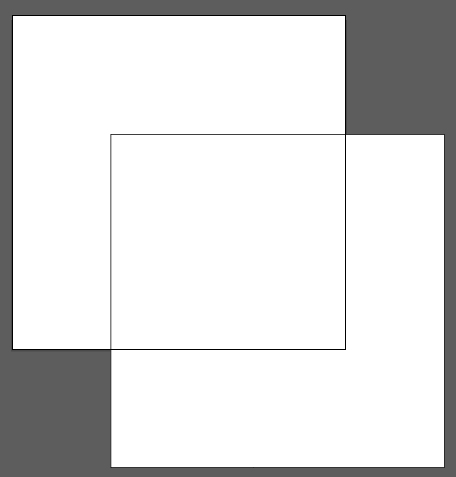
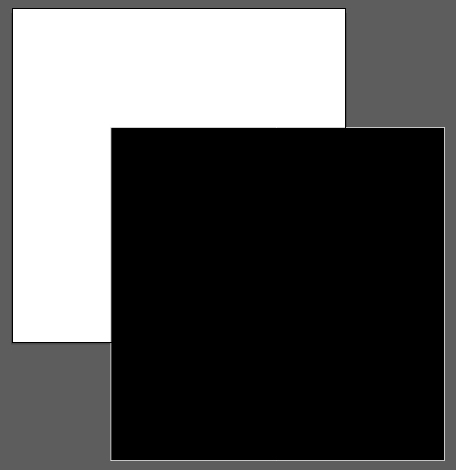
You should see a white rectangle with a black stroke. It's also probably not aligned perfectly with the background. By default, Illustrator always starts you off with a white Fill color and a black Stroke color as seen at the base of the toolbar.
With the square selected, hold down the Shift key (and keep it held down) and hit the "X" key on your keyboard. Now you have a black square with a white stroke.
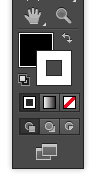
Click on the Stroke box at the base of the toolbar so it overlaps the Fill box.
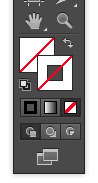
Down and to the right of the Stroke box is a white box with a red slash through it. This is the None option. Click it to remove the stroke from the rectangle. You can set either the Fill or Stroke box to None for no color. Not everything needs a stroke or a fill.
What's really pointless is, if you set both the Fill and Stroke box to no color (which you can do!) because, while the shape will still exist in the document, it won't be visible.
We now have a misaligned black box. Let's fix that as well. With the box selected, open the Align panel (Window > Align).
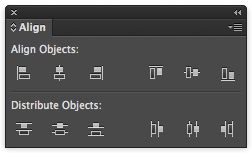
To make sure you see all the options on this panel, click a few times on the double-arrow just to the left of the Align tab or click on the panel's menu button and select Show Options.
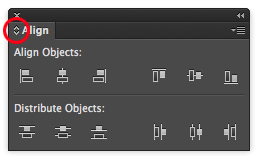
Click the double arrow.
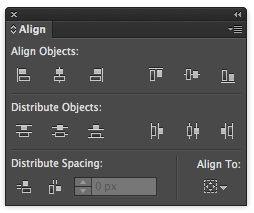
This is the expanded view.
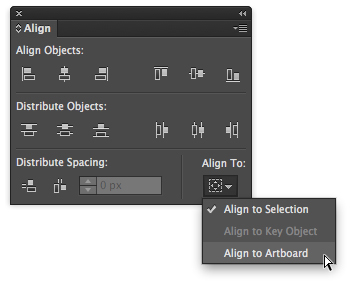
Click on the icon in the lower-right of the panel and choose "Align to Artboard".
On the top row of the Align panel are two sets of icons. Click the middle one of each. This will Vertically Center and Horizontally Center the square to the Artboard.
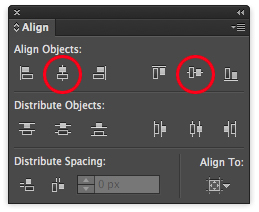
Vertical and Horizontal Center options.
To avoid moving this square around, we can look it into place by going to Object > Lock > Selection. It's now immovable unless you unlock it (Object > Unlock All).
Let's get to drawing! At the bottom of the toolbar, click the Fill box so it overlaps the Stroke box. Double-click the Fill box and choose white for the fill color. Can't draw a black icon on a black background!
Select the Rounded Rectangle tool in the toolbar (it's hidden beneath the Rectangle tool by default) and click once in your Artboard to display the tool's options. For the moment, use the values shown and click OK.
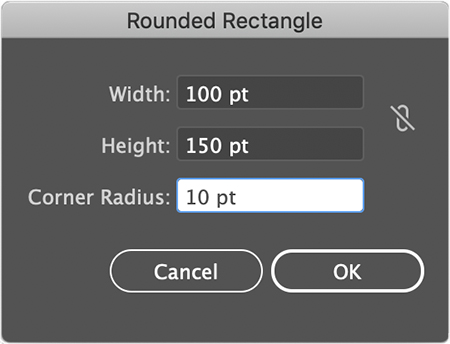
I just demonstrated how to create a shape using precise values. If that's not a concern, you can simply select the Rounded Rectangle tool and click in your Artboard and drag out the shape. It's important that you keep the click held down as you drag out your shape.
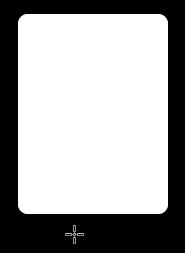
Use the Selection tool to reposition the shape in the Artboard if you like.
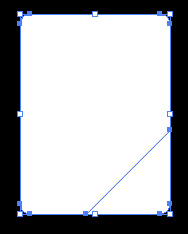
From the toolbar, select the Line Segment tool. We're going to modify the rounded rectangle by cutting part of it off. You will create a line with the Line Segment tool divide the shape. I love this technique; it's something I rely on SO often to this day in my professional work.
Position the start of your line at the outside bottom of the rounded rectangle close to where you see the cross cursor.
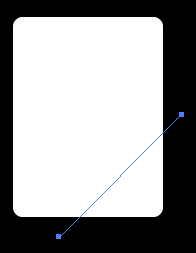
Press and hold down the Shift key. Click at the point shown in the image above and terminate the line at the position shown below. Release the click first, THEN the Shift key to create the line. By holding down the Shift key as you create your shape, you keep angles confined to those of 45 degrees. Now you can see exactly how the shape will be divided.
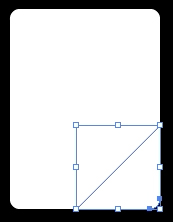
Keep the line selected and go to Object > Path > Divide Objects Below. That means, objects below the shape you're using to cut with will be divided. As you apply this command, the line you drew disappears. It's fulfilled its purpose so it goes away. What remains are two divided shapes.
Both shapes will be selected so that makes manipulating one of them individually a bit difficult. Solution? Click the Selection tool or just use the keyboard shortcut key of "V" to switch to it and then click an empty area of your document. Both shapes are no longer selected.
Using that same Selection tool, click the dogear shape created by the shape cutting.
Position your cursor near the lower-right handle of the bounding box until it displays a curved double-arrow cursor.
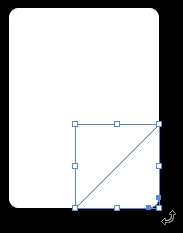
Start dragging the cursor counter-clockwise. After you start dragging, hold down the Shift key on your keyboard. If done properly, you'll rotate the shape 4 times to where it looks as in the image below.
We rotated the shape in four 45 degree angles since we had the Shift key held down as we dragged.
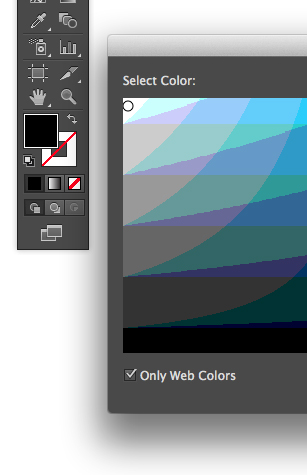
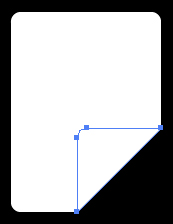
Double-click the Fill box in the toolbar to bring up the Color Picker. Choose a shade of light gray. Not too light! You want there to be noticeable color contrast with the white. And not too dark or it would blend in with the black background. Once you've got your color, click OK then deselect the shape (click an empty area of your Artboard).
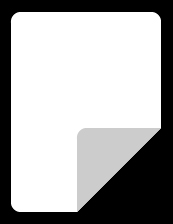
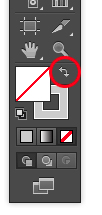
Cool, a dog-eared document is what we're left with. Let's add some "sentences" to the top white part of the icon. So, there's the Shift + X shortcut keys to flip the Fill and Stroke colors in the toolbar but, just as easily, you can click the curved double-arrow to the top-right of them to do the same thing. Do that here to match what you see here.
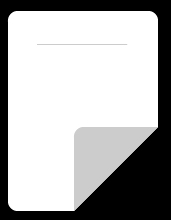
The sentences will be made up of gray lines so we'll just reuse the same gray for those. Use the Line Segment, in concert with that handy Shift key, to draw a horizontal line like the one below. You can reposition the line into place using the Selection tool.
Since we have rounded corners on our corner, let's make sure the strokes are just as gentle looking. With the line selected, open the Stroke panel (Window > Stroke). Double-click the double-arrows next to the panel title to fully expand it. Set the Weight to 10 to increase the line's thickness.
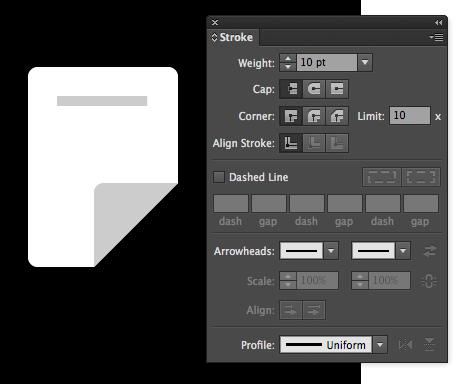
Change the Cap setting to "Round". This changes the line's edges from sharp to rounded.
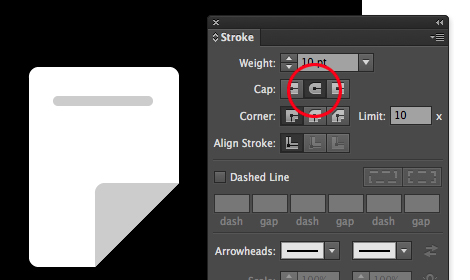
The Round Cap setting.
Replicate this shape by dragging out a copy of this shape. With the line selected, click and keep the click held down. Press and hold down the Alt key (Option key on Mac) as well. With these other things held down, press and hold down the Shift key and then drag down with your mouse cursor. This creates a second line.

As a reminder, click first, then Alt/Option key, then Shift key, then drag. Click, Alt, Shift, Drag = Copy!
I had enough room to copy out two other lines. If you need to make spacing adjustments, select the line and use the Up/Down arrow keys on your keyboard to make smaller, more controlled adjustments than by dragging to reposition.

Deselect everything at this stage. We will shorten the last line so things don't look so uniform in this icon. Click on the Direct Selection tool (or use shortcut key "A") and position it over right anchor point of the last line.
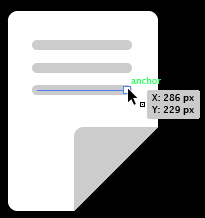
When the tiny little box to the lower-right of the cursor changes to hollow or white, that means you're in the right position to click and select the point. So click and select. The anchor point will turn a solid color, meaning it's now selected.
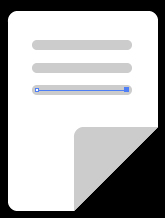
Press and hold the Left Arrow key on your keyboard to shorten the line to, say, half.

To make the whole icon easy to move or manipulate, we will group everything together. Click the regular Selection tool and, starting from the upper left area of the icon, click (and keep the click held) and drag out a selection marquee to the lower-right of the icon.
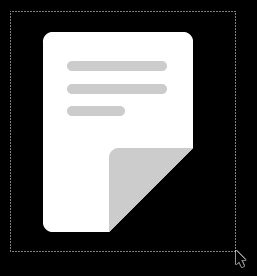
Go to Object > Group. Now you can drag the whole icon around with no shapes or points left behind.
Congrats on completing this first tutorial! You'll learn more techniques in upcoming tutorials while reinforcing what you've just learned.
Oh, hey! Still here? The following isn't germane to creating the document icon but it does explain some things you might encounter along the way.
At the end of this tutorial, if you select your icon and scale it down, you might be puzzled why it looks as shown below after you resized it.

Once we drew that first sentence line, the weight was set to 10px. Remember that? Well, without a setting enabled, the strokes remain 10px either if they are scaled up or down. If you resized the icon, revert back to its original size via Edit > Undo. To fix the too-thick lines, double-click the Scale tool in the toolbar and make sure the "Scale Strokes > Effects" option is enabled.
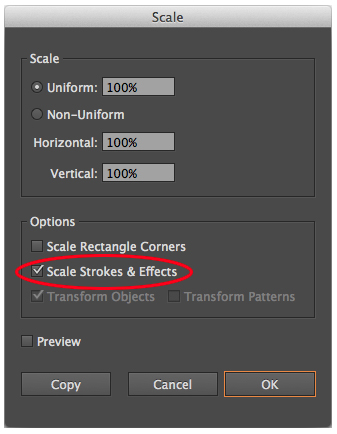
Once enabled, strokes will scale proportionally to the other shapes.

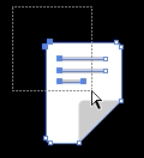
Just like the Selection tool (keyboard shortcut key "V"), the Direct Selection tool (keyboard shortcut key "A") can drag out selection marquees as well. Be careful in knowing the difference between these two selection tools. The Selection tool selects an entire shape or group even if just a small part of the selection marquee is over it.
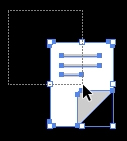
The Direct Selection tool, on the other hand, only selects whatever anchor points are inside of its selection marquee. Solid anchor points indicate they are selected. Hollow or white points are unselected.
That's all for now. You'll learn more about selecting objects in Lecture 2. Take some time to admire your finished document created using simple shape tools before you return to Lecture One.

Thank you for participating in this tutorial. Please close the window to return to the lesson.