
Project Goals
- Mark up a page using semantic and non-semantic HTML elements.
- Style the page with an internal stylesheet.
- Apply styles to the typography, color, and links.
- Use HTML5 to add a video to the page.
Do you have a nose for HTML5?
In Lecture Four, you learned how to use semantic elements to structure a web page. You also learned about the HTML5 multimedia tags that were created to help streamline the sharing of video and audio on the web.
This exercise will give you practice in using semantic elements and embedding video using HTML5 on a web page. First, you'll add semantic and non-semantic markup to the page. Then, you'll add CSS styles and a video to give the page a bit of color, style, and interactivity.
Download the html-exercise4 folder and move it into your sessions-creative folder.
Create a new HTML document in Sublime and save it as "index.html" inside the html-exercise4 folder. Begin with the following layout. You'll customize the design from here, but let's start with some basics:
<!DOCTYPE html> <html lang="en"> <head> <meta charset="utf-8"> <title>The Art of Perfumery - G. W. Septimus Piesse</title> <style> .container { max-width: 900px; margin: 0 auto; } </style> </head> <body> <div class="container">Page content goes here.</div> </body> </html>
You'll notice that this exercise uses an internal style sheet. Since you're only formatting one page, you'll write the CSS rules into the top of the document. In most other projects, you'd use an external style sheet to format multiple pages.
Open the perfumery.txt file in the downloads. Copy and paste the text into the container div in your index.html file.
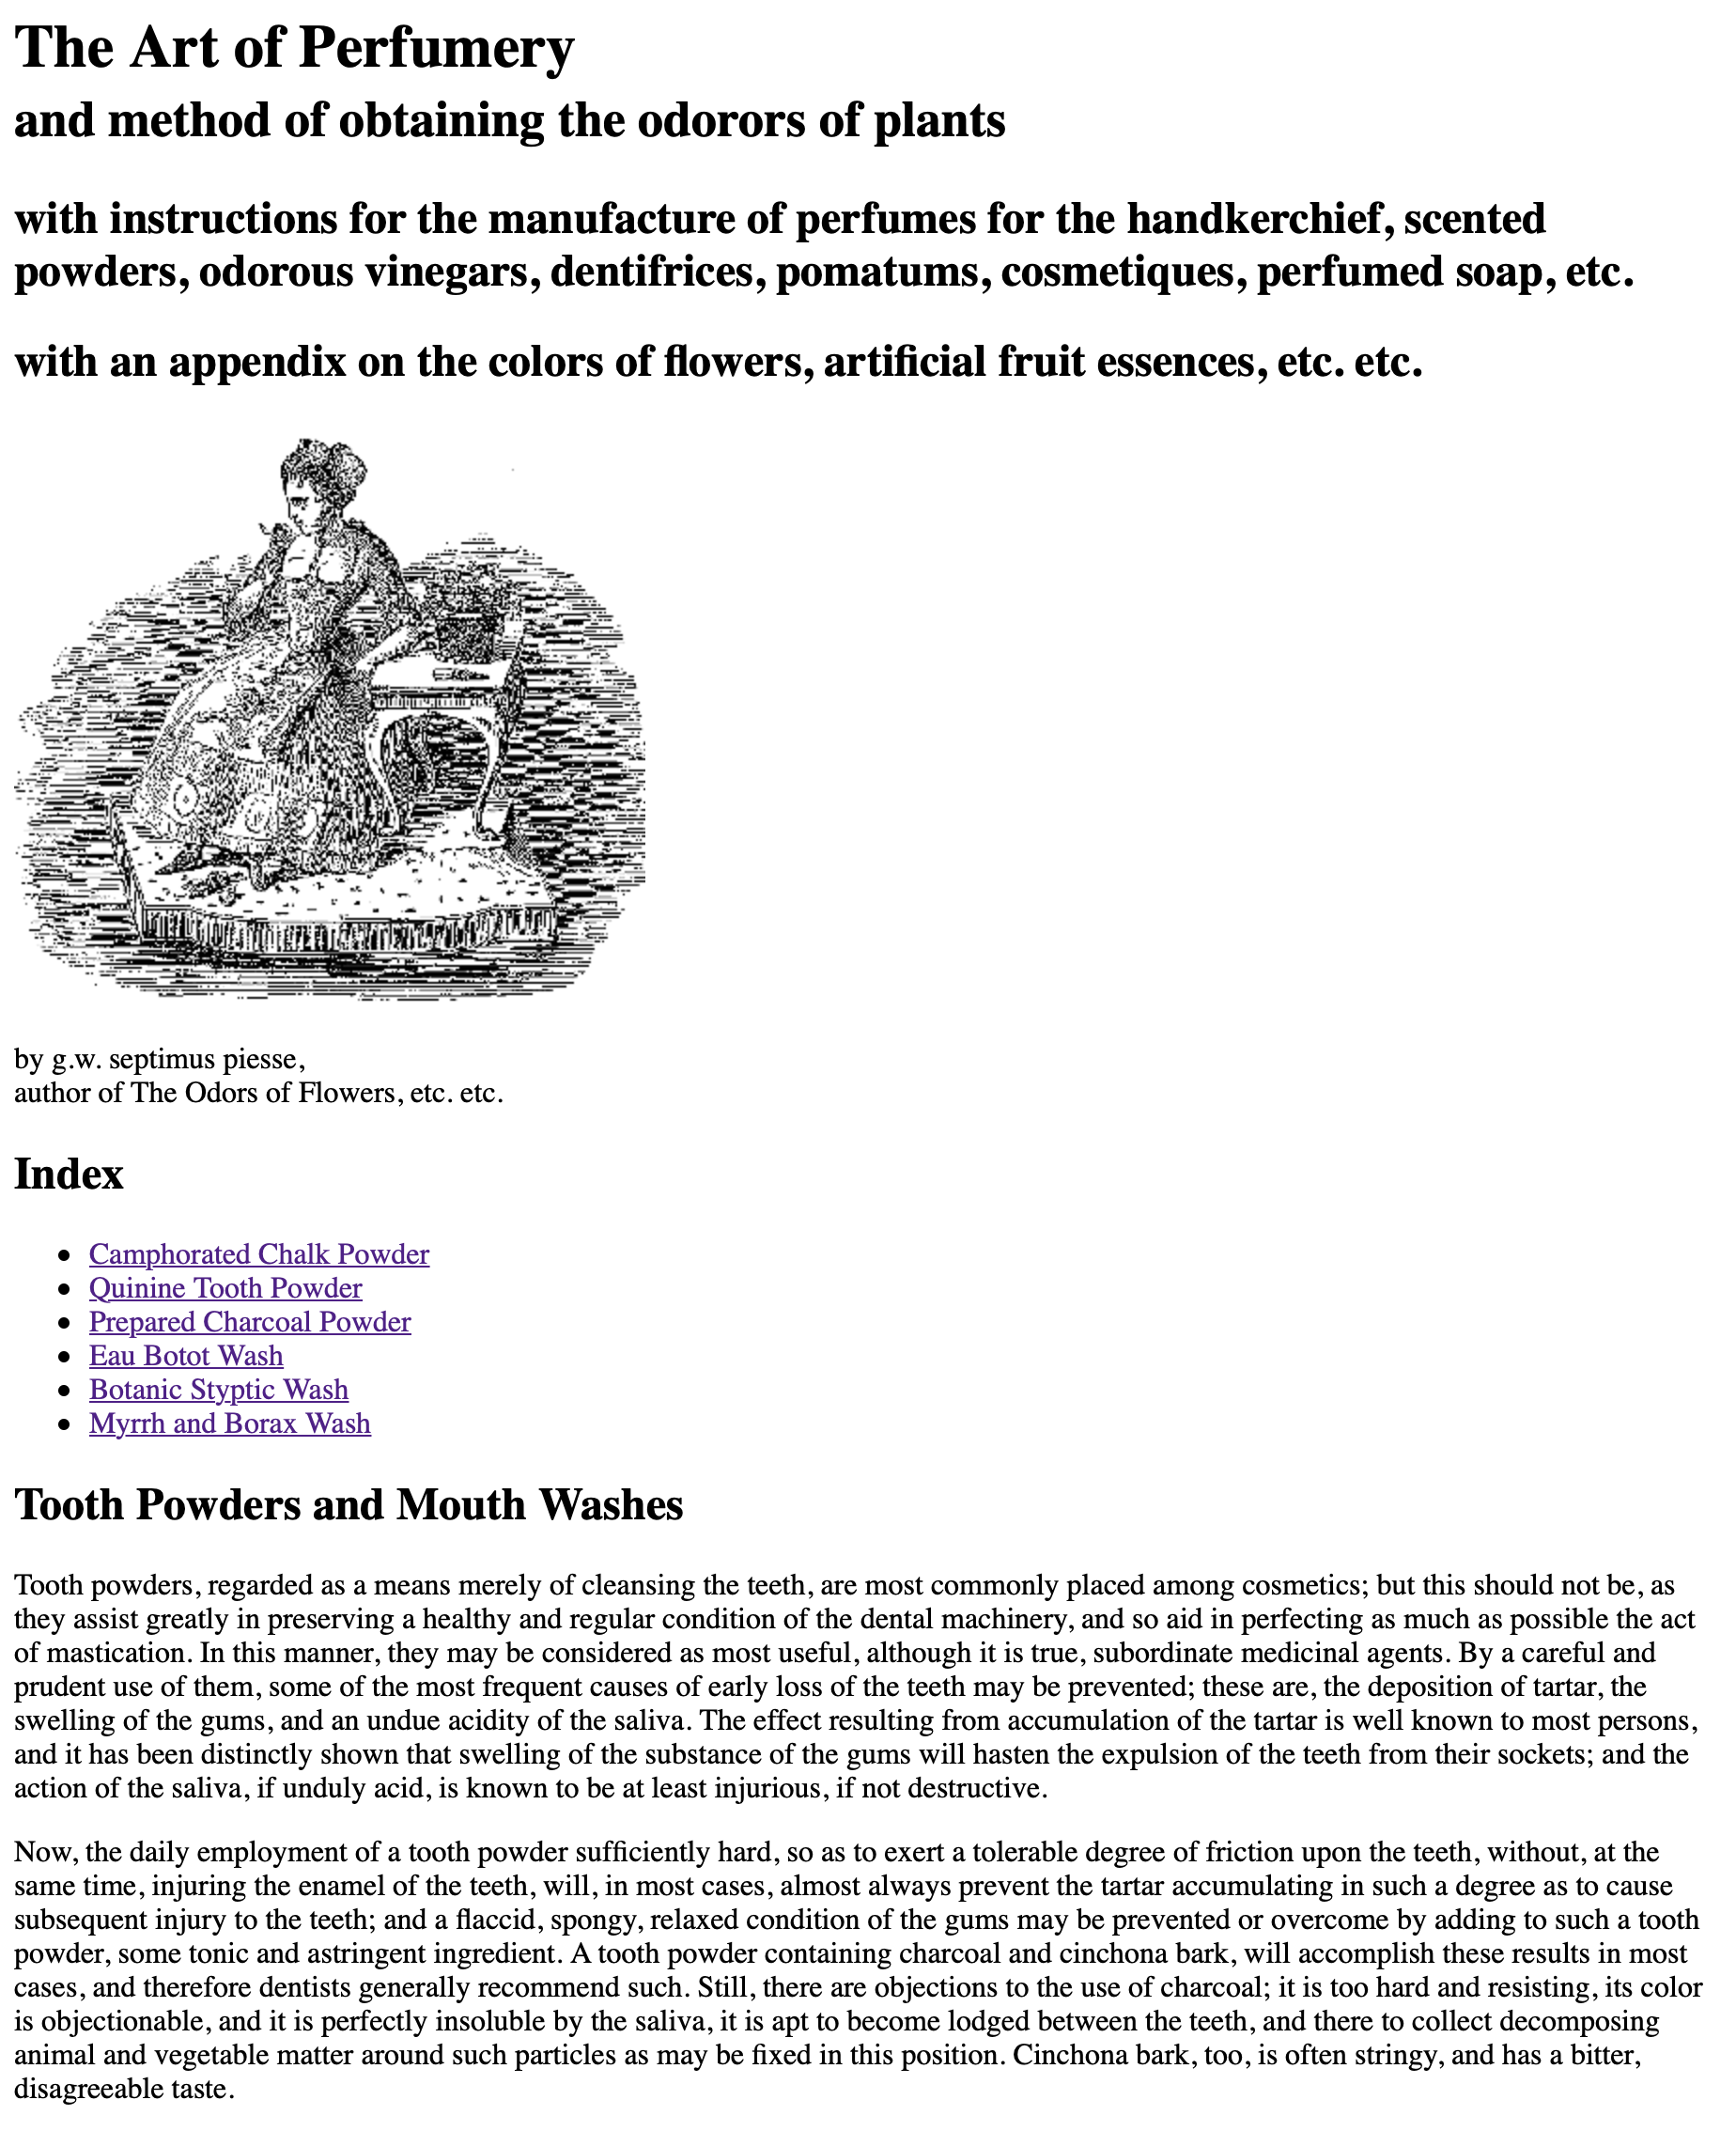
The provided text is from The Art of Perfumery, by G. W. Septimus Piesse, published in 1857. The text includes headings, paragraphs, pullquotes, links, and lists, so it will challenge you to explore the concepts you've been learning.
Back to TopStart by applying HTML5 semantic markup to the content. Recall that HTML5 provides <header>, <nav>, <section>, and <footer> tags, and that you can still use <div> and <span> tags as needed. The HTML5 elements you'll be using in this document include:
<header> <nav> <main> <section> <aside> <footer> Wrap <header></header> tags around the opening text, beginning with the title, "The Art of Perfumery," and ending after the author's additional credits ("author of The Odors of Flowers...").
Insert the perfume.png image in the header above the author name. Use empty alt attributes so the image will be skipped by screen readers.
<img src="images/perfume.png" alt="">
Let's get these semantic elements in here quickly so we can start to organize this text!
Wrap the Index and the list of links in <nav></nav> tags.
<nav>Index Camphorated Chalk Powder Quinine Tooth Powder Prepared Charcoal Powder Eau Botot Wash Botanic Styptic Wash Myrrh and Borax Wash</nav>
Wrap the "Index" heading in <h2> tags. Add the list formatting:
<nav>
    <h2>Index</h2>
    <ul>
      <li><a href="#t1">Camphorated Chalk Powder</a></li>
      <li><a href="#t2">Quinine Tooth Powder</a></li>
      <li><a href="#t3">Prepared Charcoal Powder</a></li>
      <li><a href="#m1">Eau Botot Wash</a></li>
      <li><a href="#m2">Botanic Styptic Wash</a></li>
      <li><a href="#m3">Myrrh and Borax Wash</a></li>
    </ul>
</nav>
The links will go to anchor tags within the document, allowing users to skip down to a particular place in the text.
Wrap the main text content in a <main></main> tags, beginning above "Tooth Powder and Mouth Washes" and ending before the Project Gutenberg footer credit.
<main>Tooth Powders and Mouth Washes ...</main>Text and image courtesy Project Gutenberg
Now we can subdivide the article into two major sections: Tooth Powders and Mouth Washes.
Wrap <section></section> tags around the entire Tooth Powders section.
Then, wrap <section></section> tags around the entire Mouth Washes section, ending before the [video].
The Tooth Powders section contains three recipes. Each recipe will should be wrapped in article tags.
<article>
Camphorated Chalk Powder Precipitated chalk, 1 lb. Powdered orris-root, 1/2 lb. Powdered camphor, 1/4 lb. Reduce the camphor to powder ...</article>
<article>
Quinine Tooth Powder
Precipitated chalk, 1 lb.
Starch Powder, 1/2 lb.
Orris powder, 1/2 lb.
Sulphate of quinine, 1 drachm.
After sifting, it is ready for sale.</article><article>
Prepared Charcoal Powder
Fresh-made charcoal in fine powder, 7 lbs.
Prepared chalk, 1 lb.
Orris-root, 1 lb.
Catechu, 1/2 lb.
Cassia bark, 1/2 lb.
Myrrh, 1/4 lb.
Sift.</article>
An <article> holds self-contained content that still makes sense when placed in a different context. Each recipe is a little article that could be passed along and shared individually.
The Mouth Washes sections contains another three recipes, which should also be wrapped in article tags.
To complete the HTML5 semantic markup, wrap the Project Gutenberg credit line at the bottom of the page in <footer> tags.
Be sure to add a link back to the Project Gutenberg website in the footer: http://www.gutenberg.org.
<a href="http://www.gutenberg.org">Project Gutenberg</a>
Look back over the HTML5 tags to make sure all tags have been opened and closed in the right order.
The main page heading is extremely long: "The Art of Perfumery and method of obtaining the odorors of plants". Insert a <br> tag so it breaks into two lines. Wrap the second line in <small></small> tags.
<h1>The Art of Perfumery<br><small>and method of obtaining the odorors of plants</small></h1>
Wrap the subheadings in <h2> tags:
<h2>with instructions for the manufacture of perfumes ....</h2>
<h2>with an appendix on the colors of ...</h2>
Wrap the byline in a paragraph with a class of "byline" and add a line break.
<p class="byline">by g.w. septimus piesse,<br>
author of The Odors of Flowers, etc. etc.</p>
Inside the main content area, wrap the "Tooth Powders and Mouth Washes" heading in <h2> tags.
<h2>Tooth Powders and Mouth Washes</h2>
The "Tooth powders, regarded as..." And "Now, the daily employment..." paragraphs should both be wrapped in paragraph tags.
<p>Tooth powders, regarded as ...</p><p>Now, the daily employment ...</p>
Things are looking better with some headings and paragraph tags.
Inside the first section, wrap the "Tooth Powders" heading in <h3> tags.
<h3>Tooth Powders</h3>
Inside the second section, wrap the "Mouth Washes" heading in <h3> tags.
<h3>Mouth Washes</h3>
Each recipe includes a heading, a list of ingredients, and a paragraph of instructions. Format the first recipe like this:
<article> <h4>Camphorated Chalk Powder</h4><ul> <li>Precipitated chalk, 1 lb.</li> <li>Powdered orris-root, 1/2 lb.</li> <li>Powdered camphor, 1/4 lb.</li> </ul> <p>Reduce the camphor to powder ...</p> </article>
Repeat the same formatting for the additional recipes. Give each heading a ID that corresponds to the anchor links in the Index: #t1, #t2, #t3.

Finish up the recipes in the Mouth Washes section. Apply header IDs of #m1, #m2, #m3.

This page wouldn't be complete without some helpful pullquotes about 19th century dental health. Pullquotes are longer lines that repeat key phrases or tips that are stated in the body text. In magazines, they are often "called out" of the text and italicized with quotation marks to attract the attention of a browsing or casual reader.
Wrap the following helpful reminder in <aside> tags and insert it between the first two articles in in the Tooth Powders section:
"On account of the volatility of camphor, the powder should always be sold in bottles, or at least in boxes lined with tinfoil."
Here's another useful tip for the Mouth Washes section. Wrap it in <aside> tags and insert it between the first two articles.
"All these tinctures should be made with grape spirit, or at least with pale unsweetened brandy."
There's a bit of an art to the placement of pullquotes. They should support the main text, but they shouldn't appear so close to the original quote that they feel redundant. Use your judgment and feel free to move the quotes around later when you begin styling your document.

To style your page, you will be adding CSS rules (selectors, properties, and values) to the head of your document, as shown at the beginning of this exercise.
Create a body selector and select a font-family. By default, this font will apply to all text on the page.
body {
font-family: Helvetica, Arial, sans-serif;
}
You can find interesting combinations using CSS Font Stack.
Choose a contrasting font-family for headings. If you'd like to center the headings, use text-align "center". You can combine selectors to format several elements at once:
h1, h2, h3 {
font-family: Georgia, "Times New Roman", serif;
text-align: center;
}
Remember how we nested the second line of the h1 heading in <small> tags? This will allow use to apply different styling to the small text, like so:
h1 { font-size: 44px; }h1 small {
font-size: 30px;
}
If you want the h2 headings inside the header to look different than the h2 headings inside the main content area, use descendant selectors.
header h2 {
font-size: 18px;
font-style: italic;
}

main h2 {
font-size: 30px;
}
Take a close look at the spacing between the heading elements. In my design, there is too much space between the lines of the h1 heading.
To fix it, I used less line-height in the h1 heading and removed the bottom margin.
h1 {
font-size: 44px;
line-height: 1;
margin-bottom: 0;
}
Then I adding more line-height to the h2 headings to balance it out.
header h2 {
font-size: 18px;
font-style: italic;
line-height: 1.5;
}
It is subtle, but the spacing in the final design looks better.
Depending on your page layout, you'll probably want to center both the header image and the perfume video (we'll add the video later). The CSS to accomplish that looks like this:
img, video {
display: block;
margin: 0 auto;
}
That CSS snippet tells the browser to treat both the image and video as blocks, and to apply equal margins that center the content on both sides.
Use a class selector to center the byline. Note that the class selector begins with a period:
.byline {
text-align: center;
}Use this set of styles to center the index of links:
nav ul {
padding: 0;
margin: 0;
}

nav li {
padding: 0;
margin: 0;
list-style-type: none;
padding: 5px;
text-align: center;
}
Next, it's time to style the lists inside the articles. You'll recall that lists can have unconventional bullets:
article ul {
list-style-type: square;
}Add some line-height to the paragraph text. I recommend using relative line-height values, i.e. 1 (the same amount of line-height as the font-size) or 1.5 (one and a half times the font-size).
p {
line-height: 1.5;
}
Experiment with different values until the text has enough space to "breathe". The space between the lines helps to guide the eye across the page.
OK, time to style the <aside>. There are lots of great ways to style pullquotes, and I encourage you to get creative with them. Define a width, choose appropriate text alignment, add borders, margins, padding, and adjust the font family and size. Here's an example:
aside {
width: 400px;
float: right;
padding: 20px;
border-left: 3px solid #690;
font-style: oblique;
}Now it's time to work on the background color and text color.
Start with the body background color. These colors for just as an example, I'd like you to choose your own color combination.
body {
  font-family: Helvetica, Arial, sans-serif;
  background-color: #D6FFEE;
  color: #222;
}
If you're stuck for color combinations, look up hex colors at Adobe Color. Start by choosing a dominant color. You'll need a pale shade for the background, and dark or bold colors for text.
After you settle on a body background color, choose colors for the headings and the byline.
Change the border color of the <aside> to match your color scheme.
Here I've added a h3 style to format the headings in small caps. I increased the font-size of the pull quote text and changed the color.
Make any final adjustments to your design. Adjust margin, padding, color, ect. Consider adding a top border to the section element, or to the articles, or try out contrasting background colors.
Lastly, you'll need to style your links. You can target the specific state of a link using pseudo-classes:
a:link (unvisited link) a:visited (visited link) a:hover (moused-over link) a:active (selected link) Group the link, visited and active pseudo-classes together. Choose a contrasting color for the hover pseudo-class, like so:
a:link, a:visited, a:active {
    color: #FF4A4A;
}
a:hover {
    color: #4E377D;
}
Do the site colors work well together? Do the link styles function as expected and do the links take you to the right place? If you feel good about the overall flow, then it's time for the final step—embedding a video on the page.
Back to TopYour html-exercise4 folder contains a videos folder, which contains a perfume video encoded in two different formats: perfume.ogv and perfume.mp4.
Place the video near the bottom of the page, right before the footer begins.
Insert the video using the HTML5 <video> tag, making sure that both video formats are provided, as you learned in the lecture.
When you insert the video, you can either use absolute paths (for example, https://www.mywebsite.com/html-exercise4/videos/perfume.mp4) or you can use relative paths (for example, videos/perfume.mp4).
Not all servers are equipped to handle relative video paths, so if you run into trouble getting relative paths to play, please use absolute paths instead.
Back to TopBefore posting online, use a HTML5 validator to make sure the markup validates properly.
Use your FTP tool to connect to your web space. Upload the entire html-exercise4 folder. Add the folder name to the end of your URL to view the page in a web browser, for example:
https://www.sessions-creative.com/your-name/html-exercise4/
When you browse a website, you probably don't read the page word by word, top to bottom. You scan for headings and look for links.
People who use screen readers do the same thing using the roter (aka the elements list dialog in NVDA).
Test your perfume page to see if it is accessible using the roter.
Back to Top

What your instructor is looking for:
If you have a question before sending your completed exercise for grading, send a message through Canvas to contact your instructor.
Back to TopI look forward to seeing your work!